Mastering the art of eye makeup is a journey, and the right tools are your compass. While a stunning eye look can be achieved with minimal products, the precision and artistry truly blossom with the correct brushes. Choosing the right eye makeup brushes can feel overwhelming, with a seemingly endless array of shapes and sizes available. However, focusing on a core collection of essential brushes will unlock your potential and elevate your makeup application from amateur to professional. Forget struggling with uneven lines or patchy shadows – the secret lies in understanding the function of each brush.
This guide, crafted by a seasoned professional makeup artist, will unravel the mystery surrounding essential eye makeup brushes. We’ll explore the specific types of brushes needed for a flawless eye look, detailing their unique applications and how to choose quality tools. Ready to transform your eye makeup game? Let's delve into a step-by-step process, revealing the precise techniques for achieving professional-level results with your newly curated brush collection.
Preparation and Safety Guidelines
- Blending brushes (thin tapered)
- Pointed crease brushes
- Duo fiber brush
- Small socket blender
- Flat shader brush
- Pencil brushes
- Mini detail shaders
- Angled liner brushes
- Eyeliner brushes (various shapes)
- Always clean your brushes regularly with a gentle brush cleanser to prevent bacterial growth and maintain hygiene. Dirty brushes can cause eye infections.
- Never share your eye makeup brushes with others to avoid the spread of bacteria and potential eye infections.
- Be gentle when applying eye makeup. Harsh tugging or pulling on the delicate skin around your eyes can lead to wrinkles and premature aging.
Step-by-Step Instructions
Blending and Transition Shades
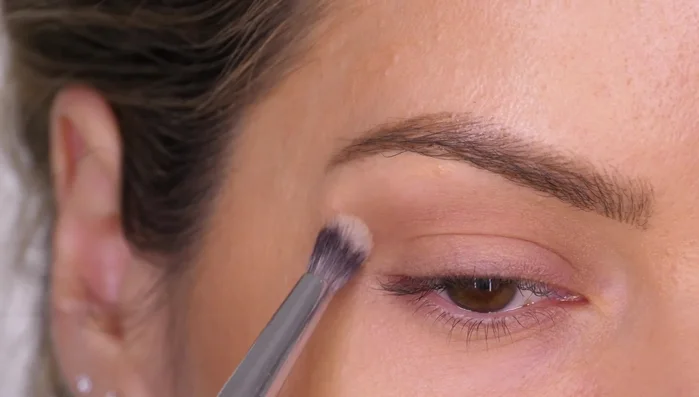
- Apply a transition shade with a slightly tapered blending brush, placing it into the socket and blending simultaneously.
- Blend over the entire eyelid using a larger flat top blending brush for seamless finish.
- Use a smaller blending brush for smaller lids or more precise blending in the socket line.

Blending and Transition Shades Crease and Socket Work
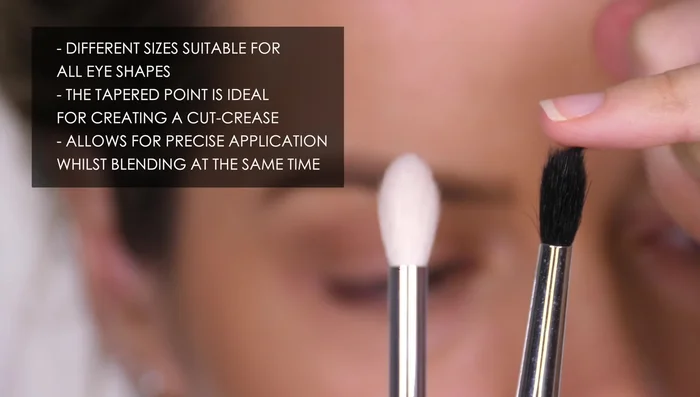
- Use a pointed crease brush to place color directly into the socket line using window wiper motions for a cut crease. The point allows for precision work and creating an outer V shape.
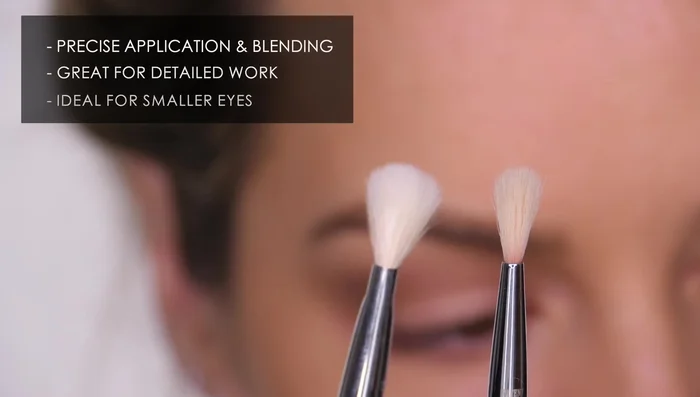
- Use a small socket blender for precise application and blending of darker shades in the socket line or outer C shape.
Crease and Socket Work Wash of Color and Seamless Blending
- Create washes of color with a duo fiber brush, blending powders and liquids seamlessly. Its unique fiber blend picks up less product, preventing overapplication.
Wash of Color and Seamless Blending Lid Color Application
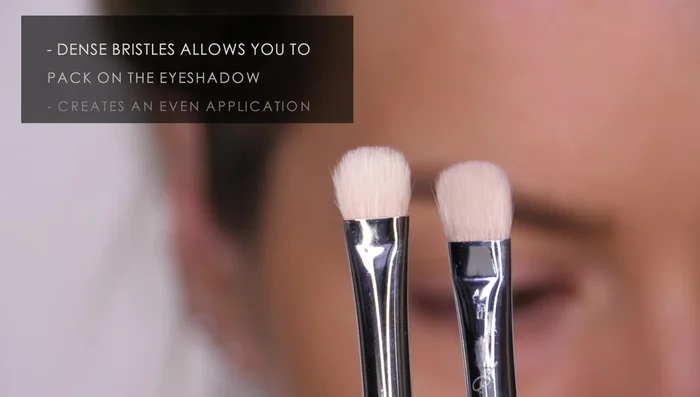
- Apply lid color evenly and fully using a flat shader brush. Its dense bristles hold pigment well, preventing messy application. The sharp edge allows for precision.
Lid Color Application Lash Line and Lower Lid Smudging
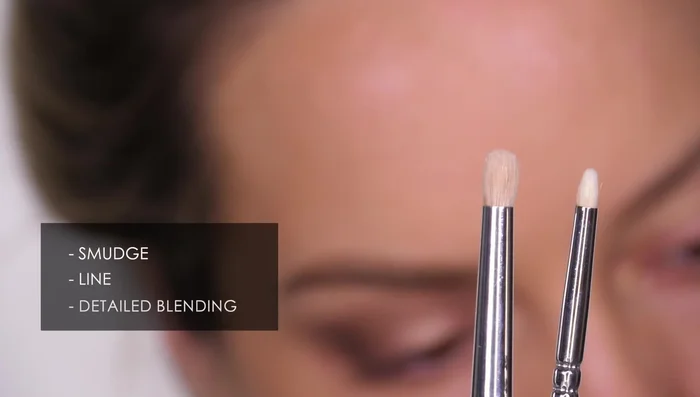
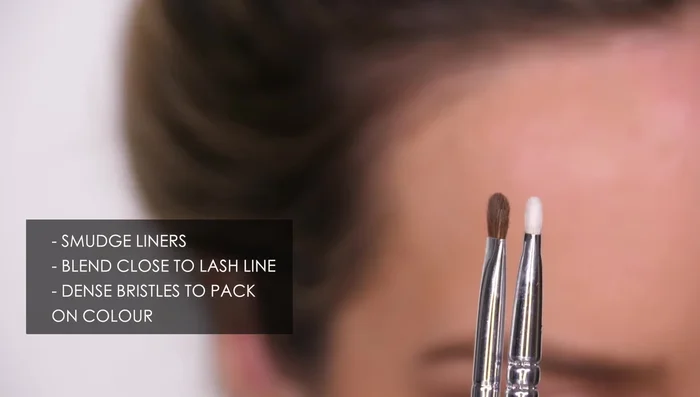
- Smoke out the lower and upper lash lines with a pencil brush. Its tapered point allows for precision.
- Use mini detail shaders for smudging along the lower lash line and applying color or creating defined shadow lines. These are thinner than pencil brushes, offering more definition.
Lash Line and Lower Lid Smudging Highlighting and Defining
- Apply highlighter to the inner corner and brow bone with mini detail shaders.
Highlighting and Defining Lining and Contouring
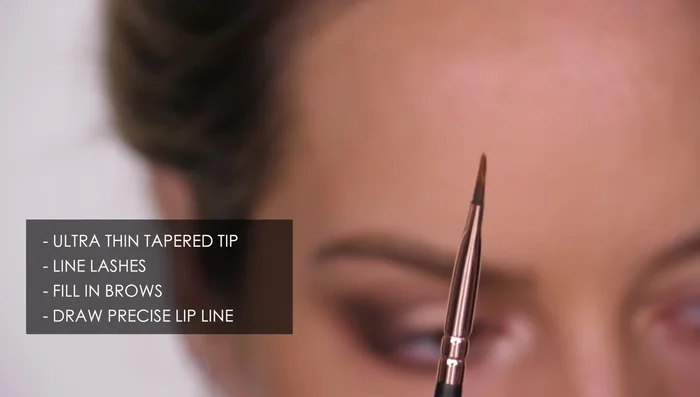
- Use an angled liner brush for lining the lash line, filling in eyebrows, and creating lip contour. Its ultra-thin tip allows for precision.
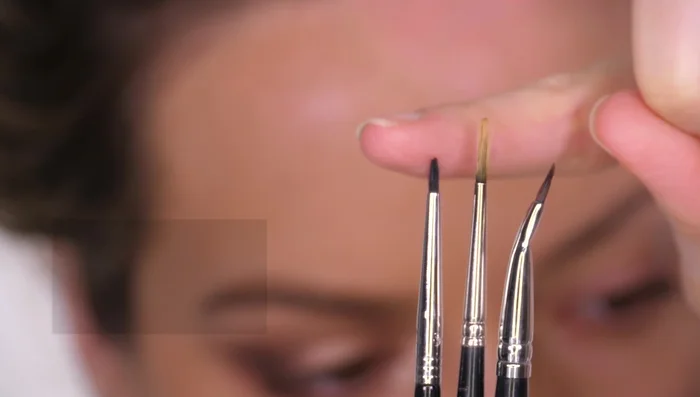
- Create a sharp wing with an eyeliner brush. Consider the brush tip thickness for desired liner thickness. Angled ferrules provide maximum control.
Lining and Contouring


Read more: Deep Clean Your Makeup Brushes & Sponges: Pro Tips for Long-Lasting Tools
Tips
- Natural bristles are softer and pick up powder products better, but synthetic bristles clean up easier and work better with liquid and cream products.
- Duo fiber brushes are great for both powder and liquid products and clean up easily.
- For cream-based products, use synthetic brushes to avoid clumping.
- Angled ferrules on liner brushes provide control and keep fingers out of the way.
- Synthetic liner brush tips hold their shape longer than natural hair.