Ready to unlock the secret to effortlessly chic, peachy-toned eye makeup? This tutorial will guide you through creating a soft, subtly smoky eye look that's perfect for both daytime elegance and evening glamour. Forget complicated techniques and overwhelming palettes; we're focusing on achieving a naturally beautiful, enhanced eye using only products from the beloved Beauty Junkies line – known for its high-quality pigments and easy-to-blend formulas. This look is incredibly versatile, easily adjusted to suit different eye shapes and skin tones.
We’ll be using a curated selection of Beauty Junkies eyeshadows, liners, and mascara to build a dreamy, peachy haze that’s both captivating and understated. Get ready to embrace a softer side of smoky eye makeup, perfectly blending warmth and depth. Let's dive into the step-by-step process and transform your eyes into a work of art!
Preparation and Safety Guidelines
- Beauty Junkies eight piece Pro Series Eye Brush set
- Beauty Junkies single eyeshadows (Warm Peach, Peach Crisp, Peach Tea, Nude Peach)
- Beauty Junkies concealer and highlighter Duo pencil (shade Warm Beige)
- Primer (optional)
- Mascara
- Always wash your hands thoroughly before applying any makeup to prevent the transfer of bacteria to your eyes.
- Do not share makeup brushes or applicators with others to avoid the spread of infection.
- If you experience any irritation, redness, or burning sensation, remove the makeup immediately and discontinue use. Consult a doctor if necessary.
Step-by-Step Instructions
Prime Eyelids
- Prime your eyelids using a primer or concealer.
Apply Crease Color
- Apply “Warm Peach” eyeshadow to the crease using the pro tapered blending brush, blending using windshield wiper and circular motions.

Apply Crease Color Apply Lid Color
- Apply “Peach Crisp” eyeshadow to the eyelid using the allover shader brush, patting and dabbing the color.
Apply Lid Color Apply Outer V Color
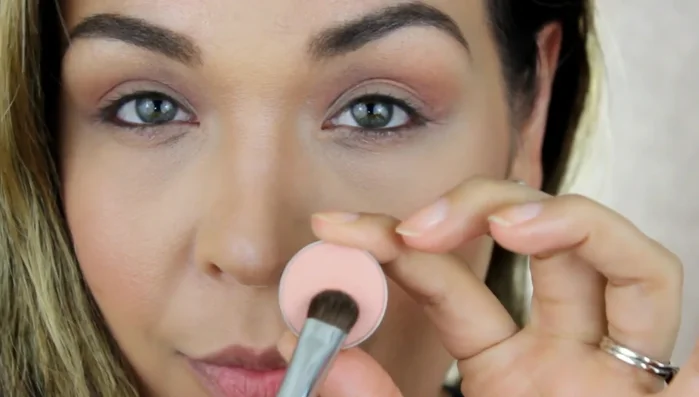
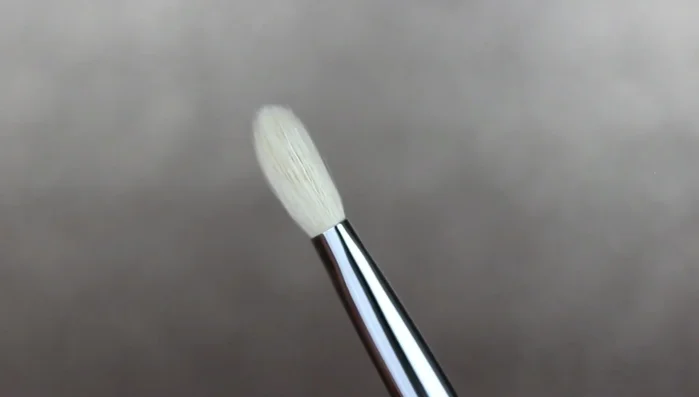
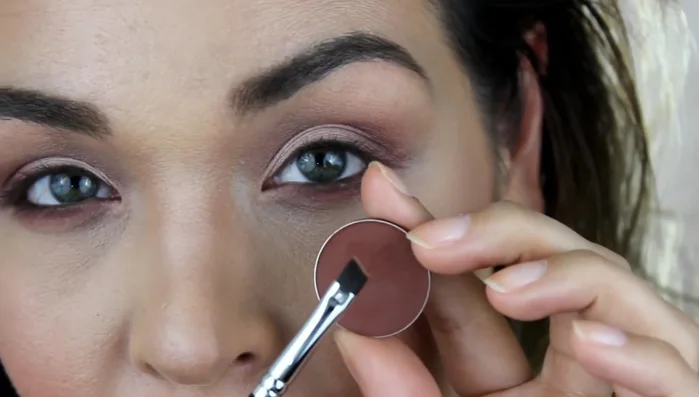
- Apply “Peach Tea” eyeshadow to the outer corner (outer V) of the eye using the pro blending brush, gently patting and blending.
Apply Outer V Color Blend Eyeshadows
- Blend all eyeshadows together using a clean Pro crease brush to diffuse the shadows into the crease for a soft smokey look.
Blend Eyeshadows Apply Lower Lash Line Color
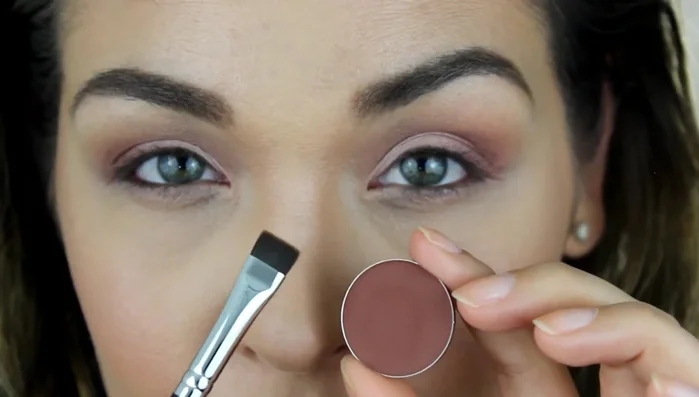
- Apply “Peach Tea” eyeshadow to the lower lash line using a flat definer brush. Optionally, use the pro pencil brush to blend and soften the look, adding “Warm Peach” for diffusion.
Apply Lower Lash Line Color Highlight Brow Bone
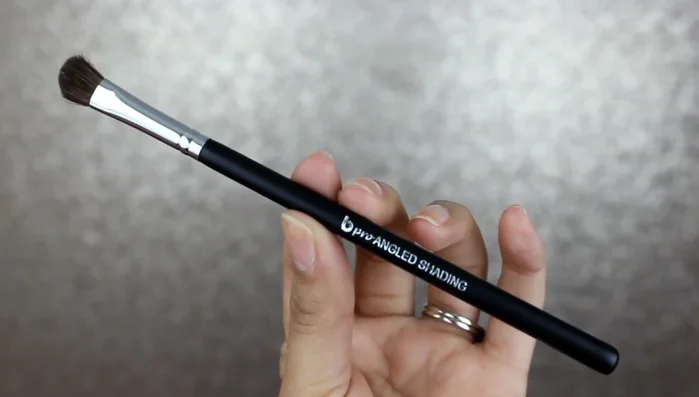
- Apply “Nude Peach” eyeshadow to the brow bone using the Pro angled shading brush with soft sweeping motions.
Highlight Brow Bone Apply Upper Lash Line Color (Optional)
- Optionally, apply “Peach Tea” eyeshadow to the upper lash line using the pro Precision eyeliner brush for added dimension.
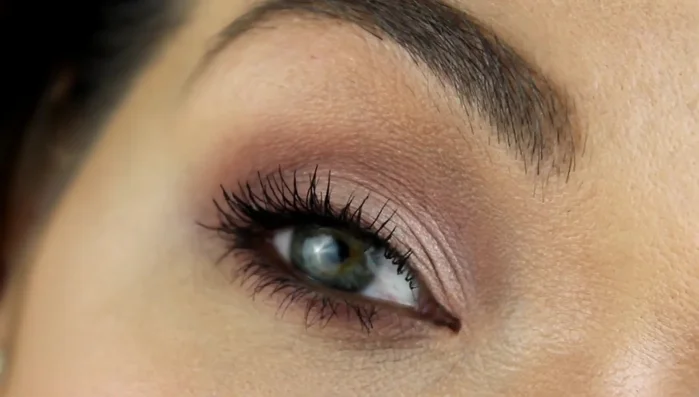
Apply Upper Lash Line Color (Optional) Apply Mascara
- Apply mascara.
Apply Mascara


Read more: Deep Clean Your Makeup Brushes & Sponges: Pro Tips for Long-Lasting Tools
Tips
- Blending is key to a beautifully polished eyelid.
- Build up eyeshadow color gradually by adding more product as needed.