The smoky eye. A timeless makeup look that exudes both glamour and effortless cool. From classic Hollywood sirens to modern-day icons, this captivating style has consistently graced runways and red carpets alike. It's a look that, while seemingly complex, can be mastered with the right technique and a few essential tools. Often perceived as intimidating, the smoky eye is actually surprisingly accessible once you understand the fundamental steps. Forget the blurry, smudged messes of the past – this guide will equip you with the knowledge to create a flawlessly executed smoky eye that's both sophisticated and stunning.
This comprehensive step-by-step guide will walk you through each stage of the process, from prepping your eyelids to achieving that perfect, smoldering finish. We’ll cover everything from selecting the right eyeshadow shades to mastering the art of blending for a seamless, professional result. Prepare to unlock the secrets to achieving a truly captivating smoky eye, ready to elevate your makeup game to the next level.
Preparation and Safety Guidelines
- Concealer
- eyeshadow primer
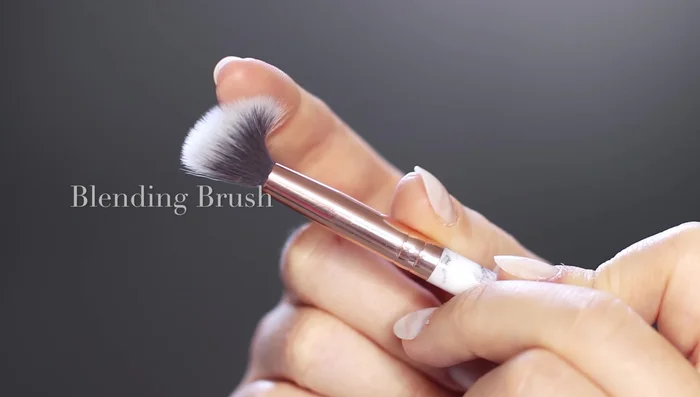
- Blending brush
- Eyeshadow (light, mid-tone, dark)
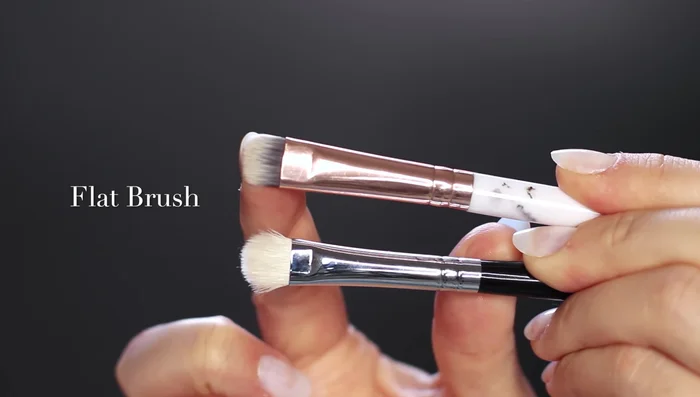
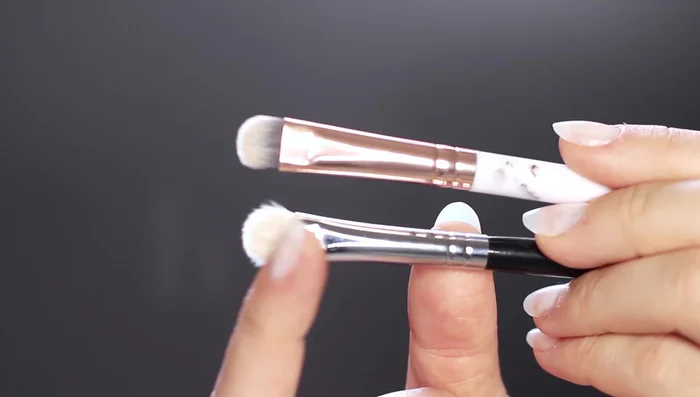
- Flat brush
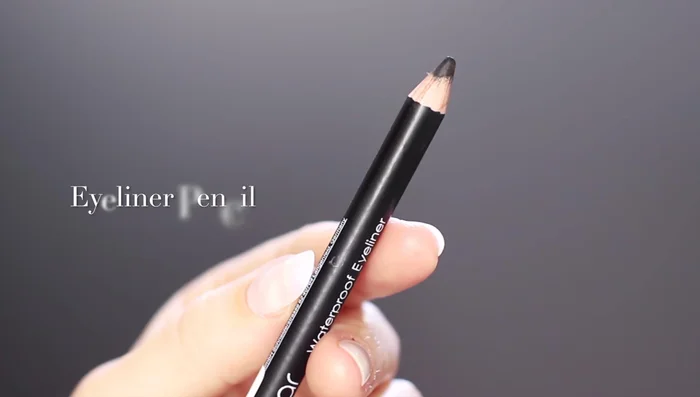
- black eyeliner pencil
- Mascara
- Always use clean brushes and palettes to prevent eye infections. Wash your brushes regularly with mild soap and water.
- Be gentle around your eyes. The skin is delicate, so avoid harsh tugging or rubbing. Apply makeup with soft, light strokes.
- If you experience any irritation or burning, immediately remove your eye makeup and discontinue use. Consult a doctor if needed.
Step-by-Step Instructions
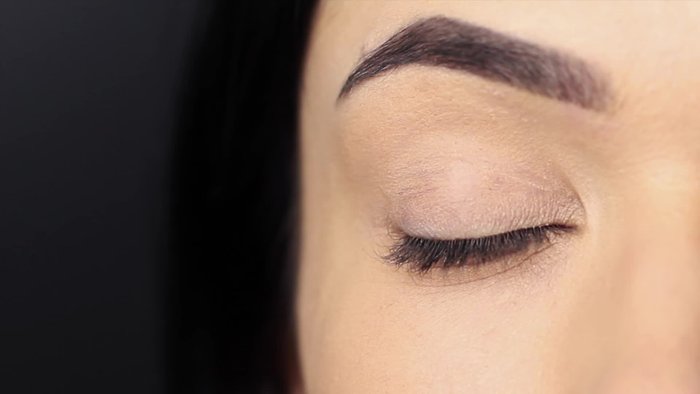
Prep Your Eyelids
- Prep your eyelids with concealer and eyeshadow primer.

Prep Your Eyelids Apply Base Shade
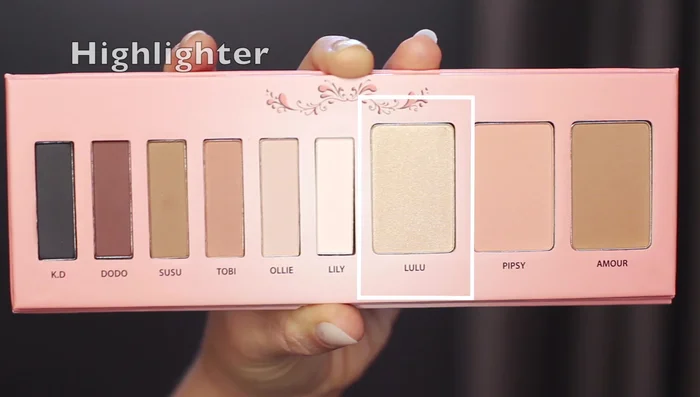
- Apply the lightest shade (highlighter) all over the lid using a blending brush. This sets your base and helps with blending.
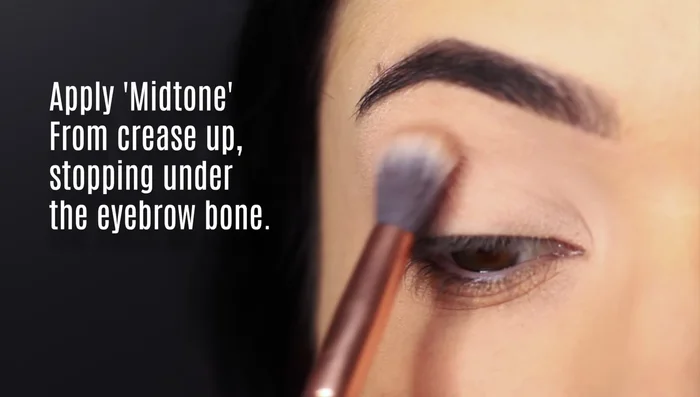
Apply Base Shade Apply and Blend Mid-Tone Shade in Crease
- Apply the mid-tone shade in the crease, blending upwards towards the brow bone, leaving a gap under the brows. Keep your eyes open to ensure correct placement.
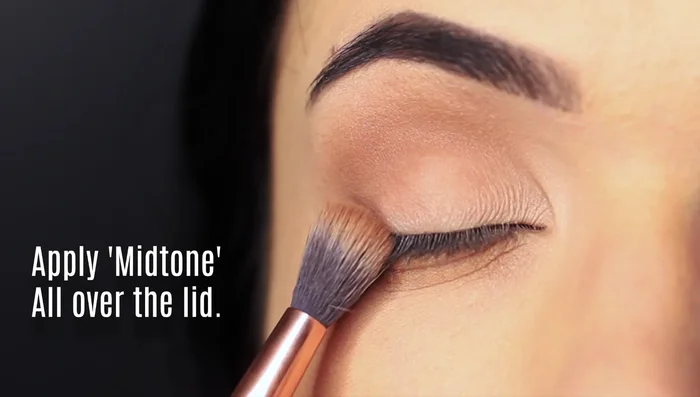
Apply and Blend Mid-Tone Shade in Crease Apply Mid-Tone Shade to Lid
- Apply the mid-tone shade across the lid from the crease to the lash line.
Apply Mid-Tone Shade to Lid Apply and Blend Dark Shade
- Use a firm brush to apply black eyeshadow along the lash line, extending slightly higher in the center to create a half-moon shape.
- Use a fluffier flat brush to blend a contour shade (darker than your skin tone) around the edges of the black eyeshadow for a smooth fade. This also deepens the look.
Apply and Blend Dark Shade Apply Tightline
- Apply black eyeliner to your upper waterline (tightline).
Apply Tightline Highlight Inner Corner
- Add a touch of highlighter to the inner corner of your eye.
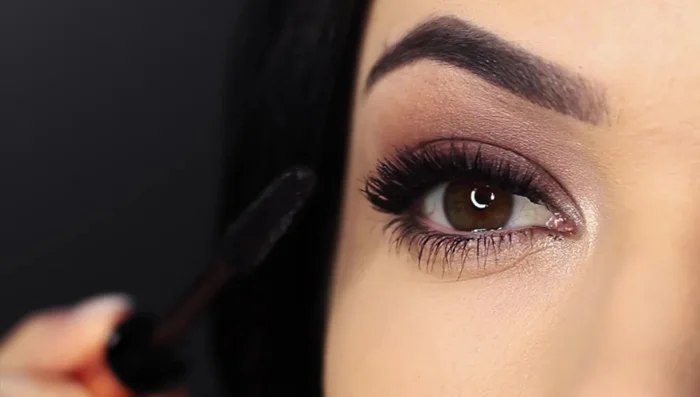
Highlight Inner Corner Final Touches
- Apply mascara and conceal any imperfections under your eyes.
Final Touches
Read more: Deep Clean Your Makeup Brushes & Sponges: Pro Tips for Long-Lasting Tools
Tips
- Use your nose, eye, and brow to create imaginary lines for blending guidance.
- If you struggle to find a mid-tone eyeshadow, look at your favorite nude lipstick shade. It will likely complement your skin tone.
- Keeping your eyes open while blending ensures the perfect transition.
- A clean under eye area is essential for a polished smoky eye look.