We all love the perfect application our makeup brushes and sponges provide, creating flawless looks that last. But these hardworking tools accumulate a surprising amount of bacteria, oil, and product buildup, impacting both the quality of your makeup application and potentially your skin's health. Dirty brushes can lead to clogged pores, breakouts, and even infections, rendering your expensive cosmetics less effective and your complexion less radiant. Ignoring regular cleaning is like using a dirty paintbrush – the results will be far from ideal.
Investing just a few minutes each week in deep cleaning your makeup tools is a small price to pay for long-lasting performance and healthy skin. This simple act extends the lifespan of your beloved brushes and sponges, ensuring they continue to blend seamlessly and flawlessly. Ready to learn the secrets to achieving a sparkling clean and rejuvenated collection? Let's dive into our step-by-step guide to deep cleaning your makeup brushes and sponges.
Preparation and Safety Guidelines
- Gentle soap (blender soap recommended)
- Warm water
- Small caddy for brushes
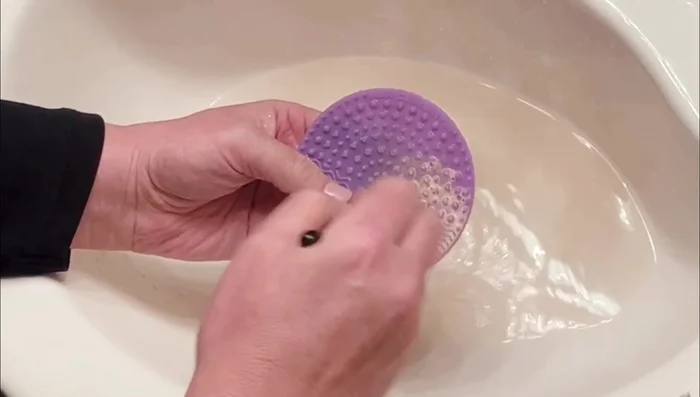
- Squeegee/brush cleaning tool
- Drying rack for brushes
- Towel
- Optional: Lysol wipes for brush handles
- Avoid submerging wooden-handled brushes completely, as this can damage the wood and loosen the ferrule (the metal part connecting the handle and bristles).
- Always allow brushes and sponges to air dry completely and thoroughly before storing to prevent the growth of bacteria and mold. Lay them flat or stand them upright with bristles/sponge facing downwards.
- Use gentle, circular motions when cleaning to avoid damaging the brush bristles or breaking down the sponge material. Harsh scrubbing can lead to premature wear and tear.
Step-by-Step Instructions
Preparation
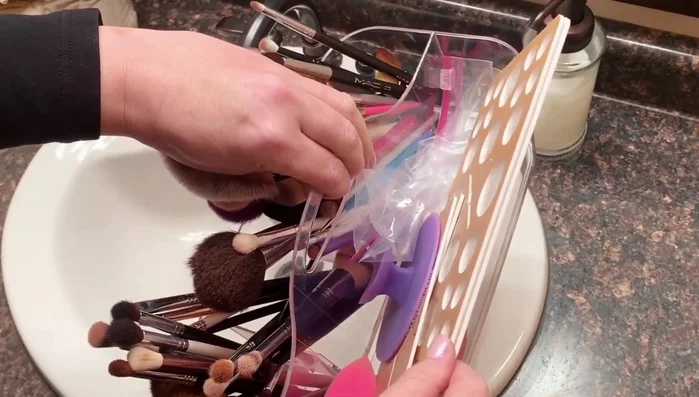
- Gather your brushes, sponges, soap, and cleaning tools.

Preparation Cleaning Smaller Brushes
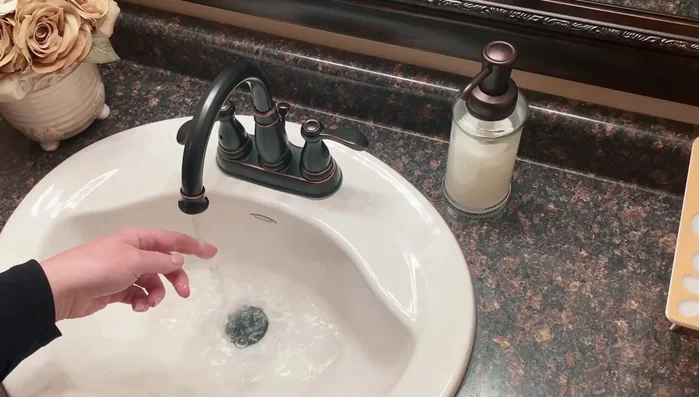
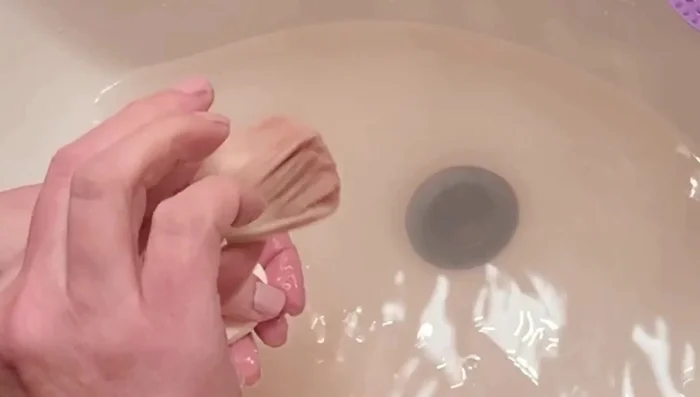
- Wet your brushes with warm water, keeping the ferrule (metal part) dry to avoid loosening the glue.
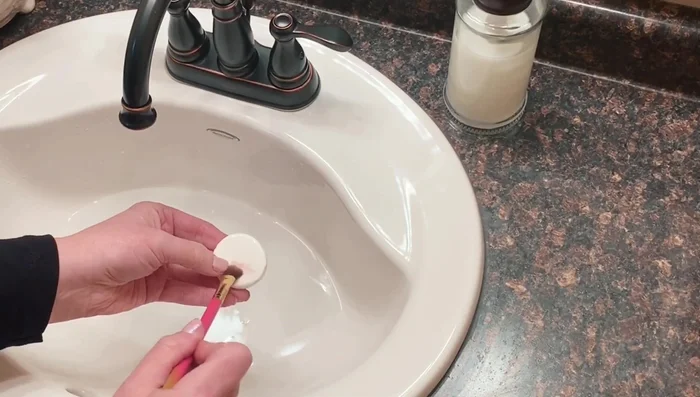
- Lather the soap gently onto the bristles, avoiding the ferrule.
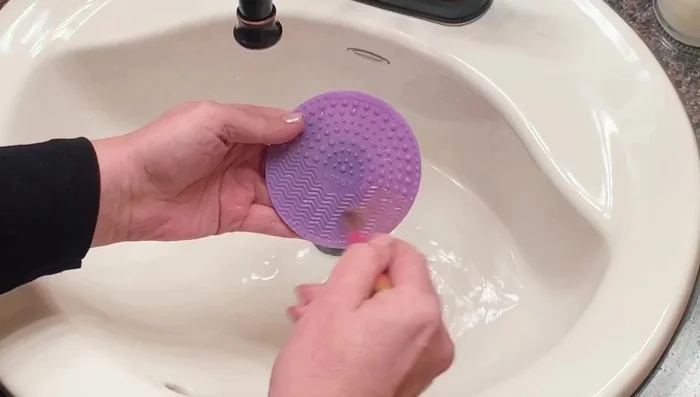
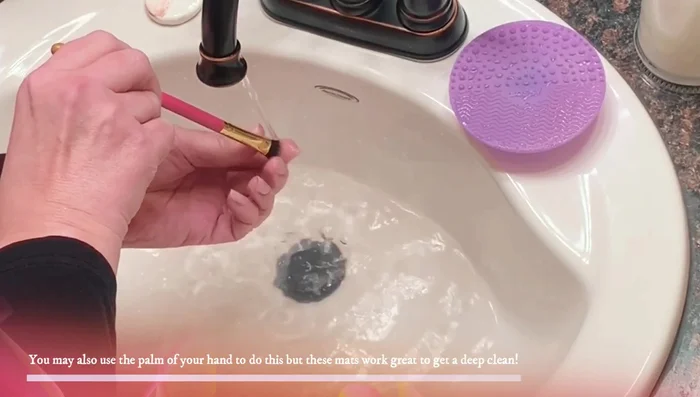
- Gently scrub the brushes on a cleaning tool or your palm, ensuring to remove all makeup residue.
- Rinse the brushes thoroughly under running water, keeping the bristles pointed downwards to protect the glue.
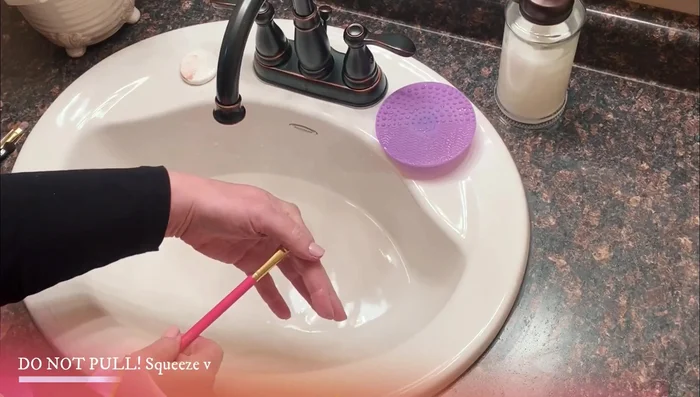
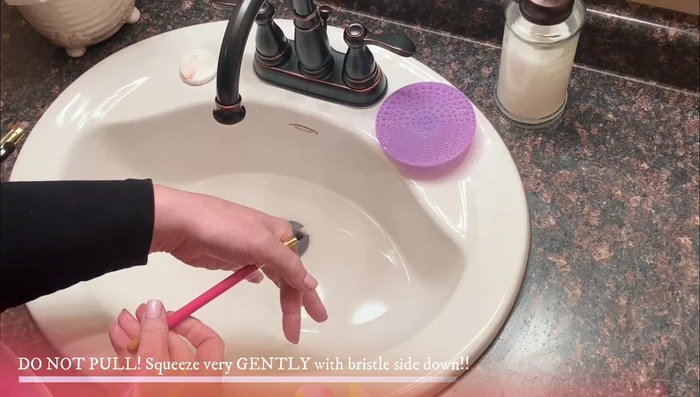
Cleaning Smaller Brushes - Gently squeeze out excess water without twisting or pulling the bristles.
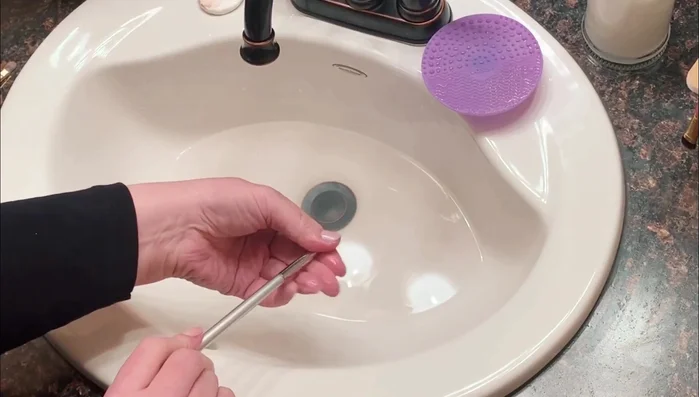
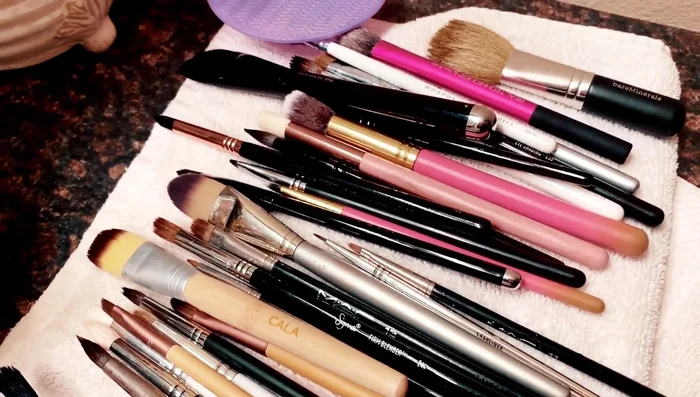
- Reshape the brushes and place them in a drying rack, bristles pointing downwards.
- Repeat steps 2-7 for all brushes.
Cleaning Smaller Brushes Cleaning Larger Brushes
- Clean larger brushes similarly, using a more thorough scrubbing motion if necessary.
Cleaning Larger Brushes Cleaning Dual-Sided Brushes
- For dual-sided brushes, lay them flat on a towel and clean both sides gently.
Cleaning Dual-Sided Brushes Cleaning Sponges
- Soak sponges in warm water, apply soap and work it in, rinse thoroughly, and squeeze out excess water.
Cleaning Sponges Drying and Storage
- Allow brushes and sponges to dry completely.
- Store your clean brushes in a protective caddy.
Drying and Storage


Read more: Deep Clean Makeup Brushes in 10 Minutes! (Vinegar & Dish Soap Method)
Tips
- Use a gentle soap and warm water. Avoid excessive wetting above the brush hairs.
- Don't scrub too hard; gentle movements are sufficient.
- Ensure all soap residue is removed.
- Keep brush bristles pointed downwards when rinsing and drying to maintain shape and prevent damage.
- Never submerge your brushes.