Back to school means new beginnings, fresh starts, and a chance to reinvent your look! This year, let's elevate your makeup game with the art of contouring and highlighting. Mastering these techniques can dramatically enhance your facial features, giving you a polished and confident appearance perfect for classes, extracurriculars, and everything in between. Forget the awkward first-day jitters; a little skillful contouring can boost your self-assurance and make you feel ready to conquer anything. Whether you're a makeup novice or looking to refine your skills, this tutorial will guide you through the process.
This back-to-school makeup tutorial will focus on achieving a natural yet impactful look using contouring and highlighting, suitable for everyday wear. We'll cover everything from choosing the right shades to blending seamlessly for a flawless finish. Get ready to unlock your inner makeup artist because, in just a few easy steps, you'll be ready to flawlessly contour and highlight your way to a confident and radiant school year. Let’s dive into the step-by-step guide and transform your everyday makeup routine!
Preparation and Safety Guidelines
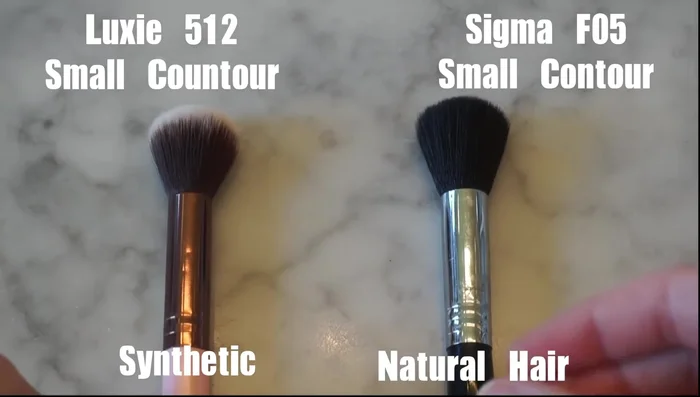
- Synthetic brushes
- Natural hair brushes
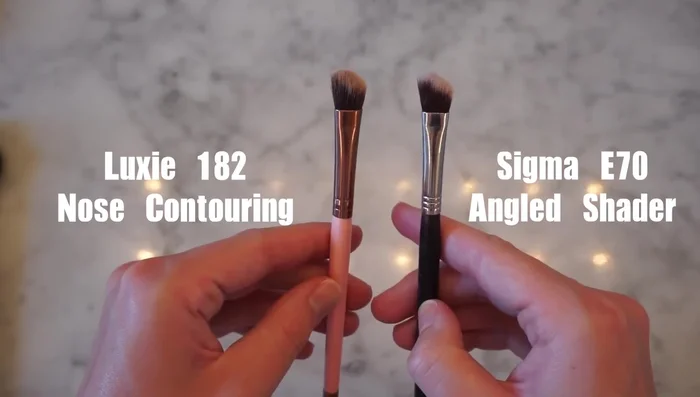
- Angled Shader Brush
- Tarte brush
- e.l.f. brushes
- Luxie brushes
- Real Techniques Beauty sponge
- Beauty Blender
- Always use clean brushes and tools to prevent the spread of bacteria and breakouts. Wash your brushes regularly.
- Start with a light hand when applying contour and highlight. You can always add more, but it's harder to remove excess product.
- Choose products that are non-comedogenic (won't clog pores) to avoid acne, especially during the often stressful back-to-school period.
Step-by-Step Instructions
Brush Selection & Types
- Synthetic brushes are versatile for creams and powders, while natural hair brushes are best for powders only.
- Select brushes based on desired thickness, density, and price point. Examples include e.l.f., Luxie, and Tarte brands.

Brush Selection & Types Cream Product Application & Blending
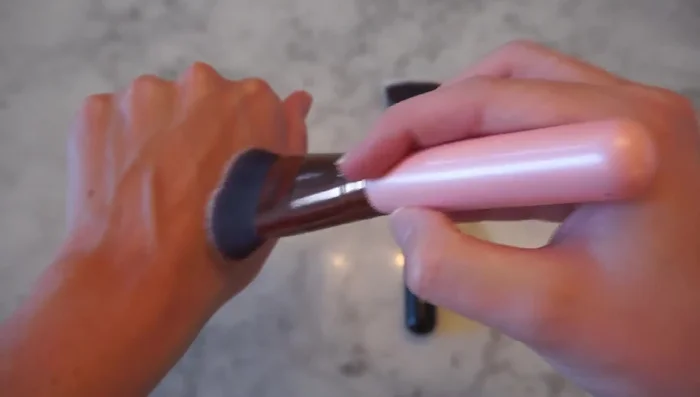
- Use denser brushes for blending cream contour and bronzer products.
Cream Product Application & Blending Powder Highlight Application
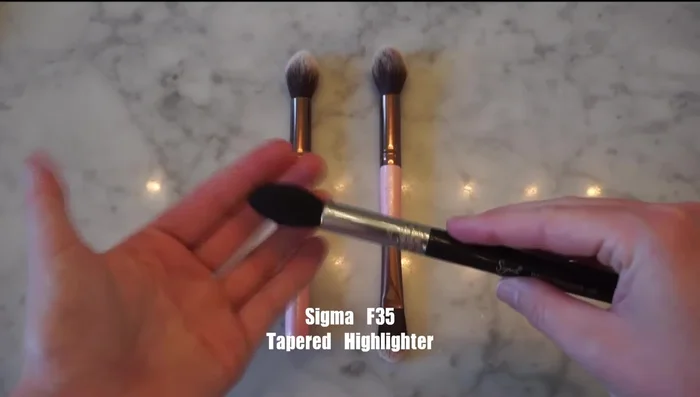
- Use fluffy brushes for applying powder highlight. Brushes like the Luxie 181 are dual-ended for both cream and powder applications.
Powder Highlight Application Nose Contouring Technique
- An angled shader brush is ideal for precise nose contouring.
Nose Contouring Technique Sponge Application
- Beauty blenders are softer and squishier, while Real Techniques sponges offer a firmer alternative.
Sponge Application


Read more: Deep Clean Your Makeup Brushes & Sponges: Pro Tips for Long-Lasting Tools
Tips
- Synthetic brushes blend makeup better and create a more airbrushed look.
- Natural hair brushes should only be used with powder products.
- A thin brush like the Tarte brush is great for sharp lines in powder contouring.