Pencil eyeliner: a seemingly simple tool, yet mastering its application can unlock a world of eye-enhancing possibilities. From subtle definition to dramatic winged effects, the right technique transforms your look, making your eyes the focal point. Many struggle with achieving a precise, smudge-free line, often ending up with uneven application or frustrating fallout. But fear not, aspiring makeup artists! The key lies not in expensive products, but in understanding the nuances of application and choosing the right tools for your eye shape and desired effect.
This guide will demystify the art of pencil eyeliner application, empowering you to create stunning eye looks with confidence. We'll walk you through a straightforward, step-by-step process, covering everything from prepping your eyelids to achieving different eyeliner styles. Get ready to ditch the smudges, embrace precision, and discover the transformative power of a perfectly applied pencil eyeliner.
Preparation and Safety Guidelines
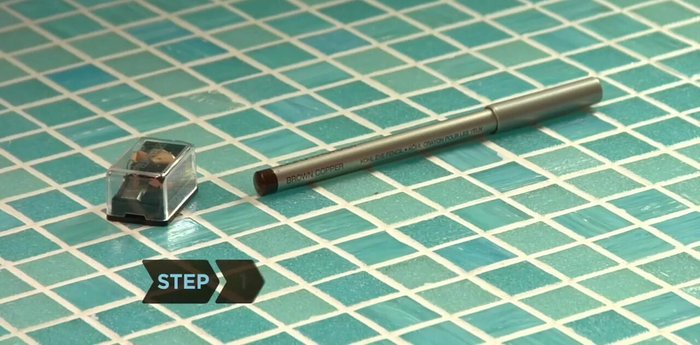
- Pencil eyeliner
- Pencil sharpener
- Flat surface
- Mirror
- Tissue
- Always sharpen your pencil eyeliner before each use for a precise and smooth application. Dull points can lead to uneven lines and tugging on the delicate skin around your eyes.
- Avoid applying eyeliner directly to your waterline (the inner rim of your eyelid) as this can cause irritation and increase the risk of eye infections. Apply to the lash line instead.
- If you experience any burning, stinging, or excessive redness, remove the eyeliner immediately and discontinue use. Consult a doctor if irritation persists.
Step-by-Step Instructions
Choosing and Preparing Your Eyeliner
- Choose an eyeliner that complements your eyeshadow and mascara.
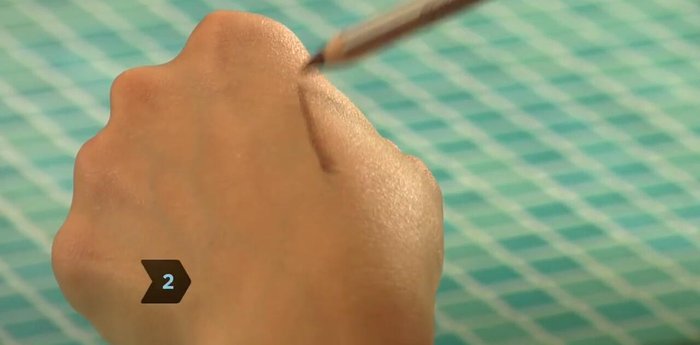
- Test the width of the line by drawing a little on the back of your hand. Sharpen or smudge the pencil to adjust the line width as needed.
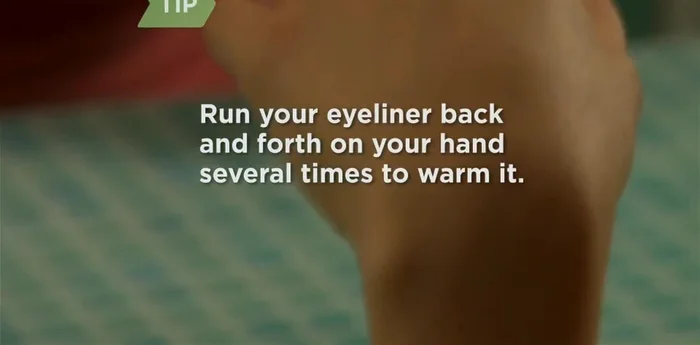
- Warm up a dry eyeliner pencil by rubbing it on your hand to improve its glide.

Choosing and Preparing Your Eyeliner Setting Up for Application
- Rest your elbow on a flat surface for steady application. Draw along your upper lash line, as close to the lashes as possible, starting from the inner corner. Vary pressure to control line thickness.
Setting Up for Application Applying Eyeliner to Upper Lash Line
- Rest your elbow on a flat surface for steady application. Draw along your upper lash line, as close to the lashes as possible, starting from the inner corner. Vary pressure to control line thickness.
Applying Eyeliner to Upper Lash Line Applying Eyeliner to Lower Lash Line
- Draw a thin line on your lower lash line, starting from the middle for a classic look. For a bolder look, extend the line to the inner corner.
Completing the Look
- Repeat on your other eye, matching the lines.
Read more: Long-Lasting Eyeliner: Gel Liner & Powder Setting Technique
Tips
- Don't stretch your skin too much while applying eyeliner to avoid unevenness.
- Warming the eyeliner pencil improves its application and prevents pulling on the delicate eye tissue.
- A flat surface helps keep your application steady and controlled.