The smoky eye: a timeless classic that effortlessly elevates any look, from a casual daytime ensemble to a glamorous evening affair. But achieving that flawlessly blended, smoldering effect can seem daunting, especially for those new to eyeshadow application. The key lies not in using expensive palettes, but in mastering the art of blending—a technique that transforms harsh lines into a seamless, captivating gradient of color. Often, the difference between a striking smoky eye and a muddy mess boils down to a few crucial steps and the right tools. Many find this process frustrating, but with practice and the right technique, you too can conquer this coveted makeup look.
This seemingly simple technique actually requires precision and patience. Poor blending can lead to a patchy, uneven finish that detracts from your overall look. But fear not! This article will guide you through a step-by-step process, providing you with the essential knowledge and techniques to master eyeshadow blending and create a truly stunning smoky eye. Let's dive into the techniques that will transform your eyeshadow application and unlock your inner makeup artist.
Preparation and Safety Guidelines
- Always use a clean brush for each eyeshadow color to prevent muddy blending and maintain pigment purity.
- Start with a light hand and build up the intensity gradually. It's easier to add more color than to remove excess.
- Use a setting spray or powder to lock your eyeshadow in place and prevent creasing throughout the day.
Step-by-Step Instructions
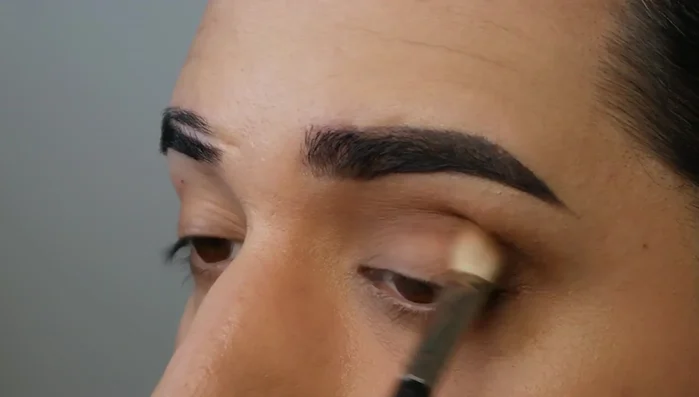
Base Shadow Application
- Apply a natural-toned eyeshadow through the socket line, pushing the brush right into the crease between your eye and brow bone. Use a windscreen wiper motion back and forth.
- Buff out the eyeshadow using a bigger, fluffier brush in circular motions to create a wider, smoky effect.

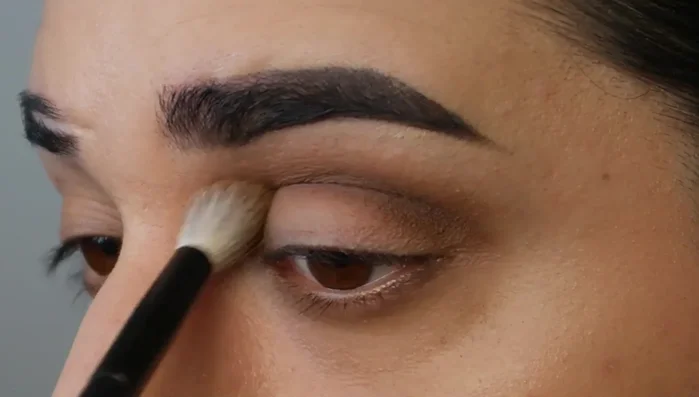
Base Shadow Application Mid-Tone Shadow Application
- Apply a deeper color, again pushing it into the socket with a direct, straightforward brush motion (avoiding angles to prevent harsh lines).
- Buff out the deeper eyeshadow with a fluffy brush.
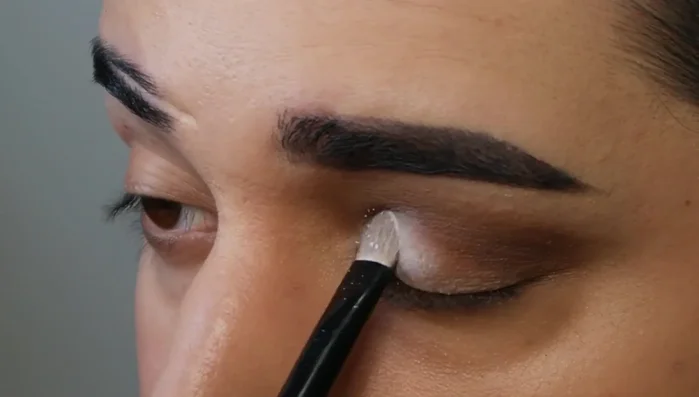
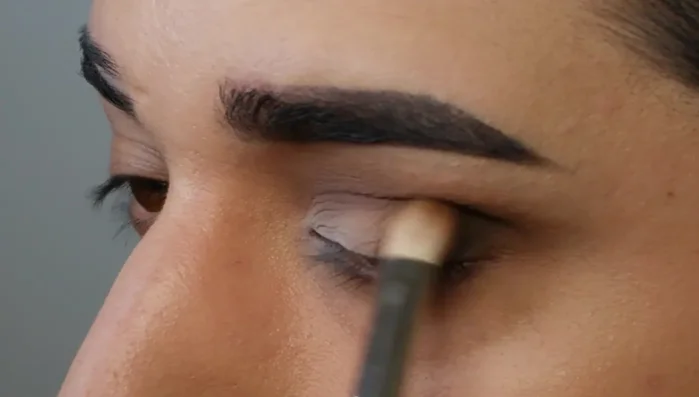
Mid-Tone Shadow Application Highlight Application
- Pat a lighter eyeshadow (e.g., white) onto the eyelid using a patting motion (don't rub) to build color. Use a sponge applicator or brush.
- Gently blend out the lighter eyeshadow with a clean brush to avoid harsh lines.
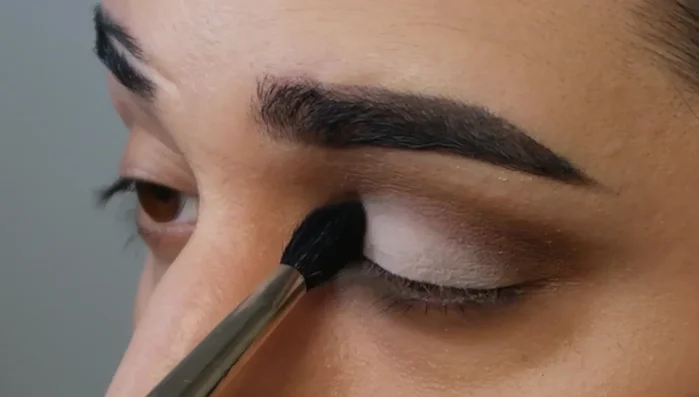
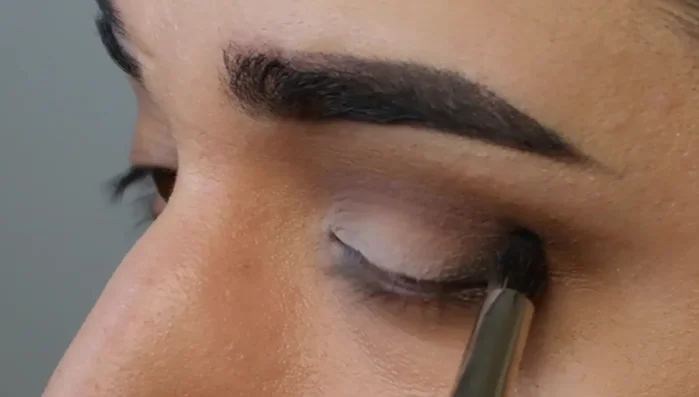
Highlight Application Deep Shadow Application
- Add a dark color (e.g., black) in a triangle shape to the outer corner of the eyelid using a small, pointed pencil brush.
Deep Shadow Application Blending and Smudging
- Use a blending brush to soften and blend out the dark color, acting as an 'eraser' to the pencil brush application.
- Continue blending until satisfied with the smoky effect. Remember to focus the blending within the socket line.
Blending and Smudging


Read more: Long-Lasting Eyeliner: Gel Liner & Powder Setting Technique
Tips
- Hold the brush further from the bristles for a lighter, more diffused application.
- Approach the eye at a slight angle for an even blend. A steeper angle creates a more defined cut crease.
- Use a back-and-forth and circular blending motion for the best results.