Achieving a flawless makeup application hinges on more than just skillful blending; it demands a pristine tool. Your beauty blender, that seemingly innocent sponge, harbors a surprising amount of bacteria and makeup residue with each use. Over time, this buildup not only compromises the hygiene of your application but also significantly impacts the final result, leading to uneven coverage, clogged pores, and even breakouts. A dirty beauty blender is essentially sabotaging your makeup routine, no matter how high-end your products.
Ignoring this crucial aspect of makeup maintenance is a common mistake, but luckily, the solution is simpler than you think. A deep clean is essential for preserving your blender's lifespan and ensuring your makeup looks its absolute best. Ready to unlock the secret to a truly flawless finish? Let's dive into our step-by-step guide on how to thoroughly clean your beauty blender and keep it sparkling.
Preparation and Safety Guidelines
- Beauty Blender
- Container
- Dishwashing soap
- White Vinegar
- Microwave
- Napkins
- Never use harsh chemicals or abrasive cleaners on your Beautyblender. This can damage the sponge's delicate structure and shorten its lifespan.
- Always rinse your Beautyblender thoroughly after cleaning to remove all traces of soap and makeup residue. Leaving residue can breed bacteria.
- Allow your Beautyblender to air dry completely before using or storing it. Storing a damp sponge encourages mold and mildew growth.
Step-by-Step Instructions
Initial Soak and Cleaning
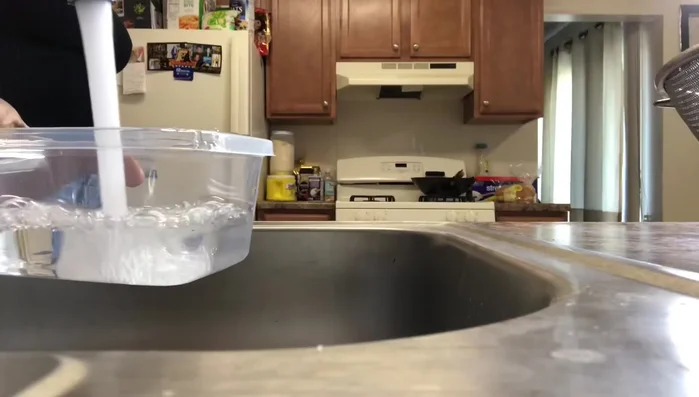
- Soak the Beauty Blender in water.
- Add dishwashing soap and gently squeeze the Beauty Blender to work the soap in. This helps loosen dirt.
- Add white vinegar to help remove stubborn dirt.

Initial Soak and Cleaning Microwave and Cool
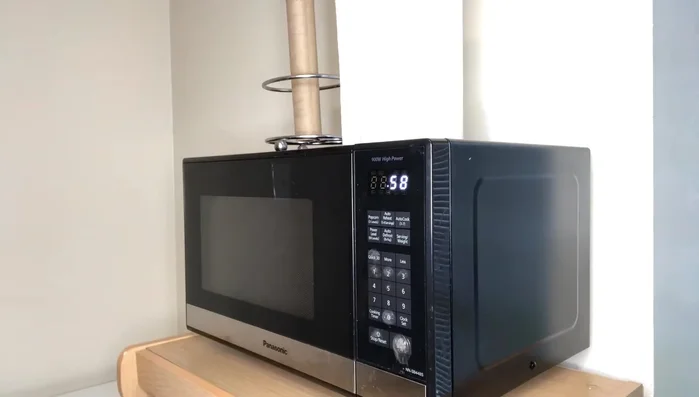
- Microwave for one minute ONLY. Do not exceed this time.
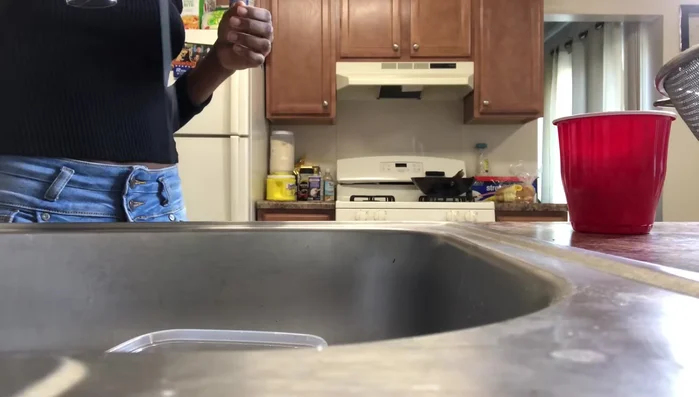
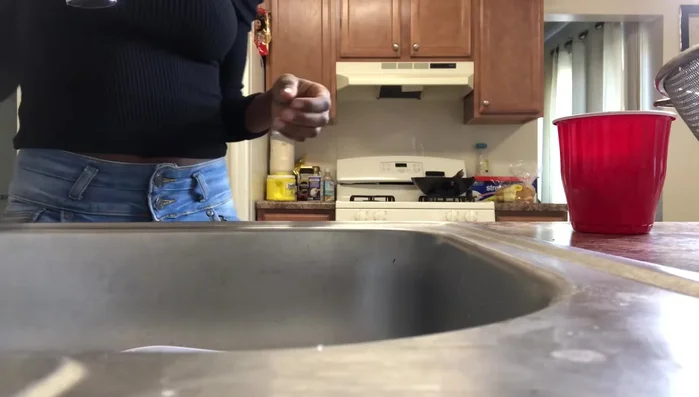
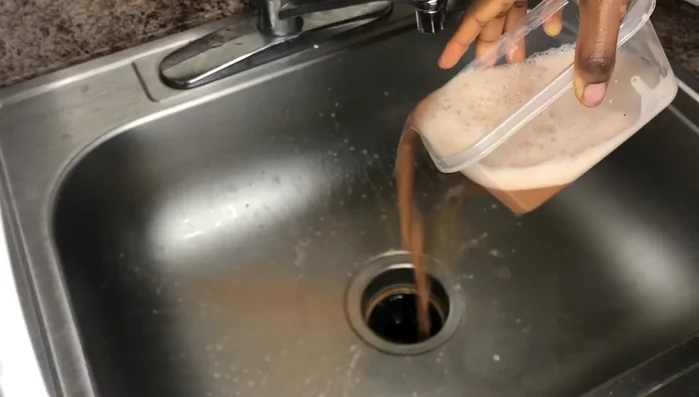
- Let cool, then rinse thoroughly.
Microwave and Cool Repeat Cleaning (Without Vinegar)
- Repeat steps 1-5 (without vinegar this time).
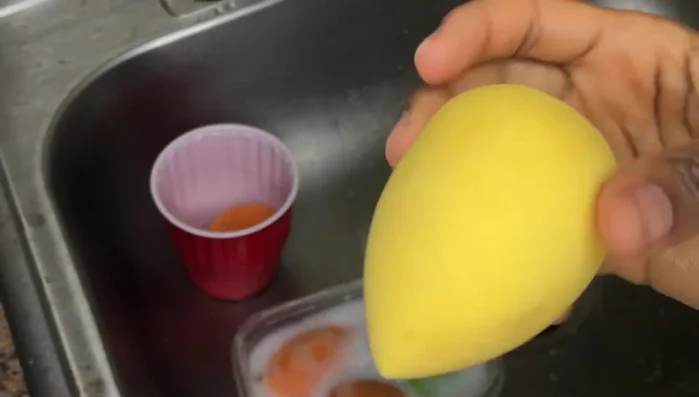
Repeat Cleaning (Without Vinegar) Final Rinse and Drying
- Rinse one last time and let the Beauty Blender air dry on a clean napkin or paper towel.
Final Rinse and Drying

Read more: Deep Clean Makeup Sponges: The Ultimate Guide for Sparkling Clean!
Tips
- Don't over-microwave! One minute is sufficient to sanitize and loosen dirt, excessive heating can damage the blender.
- Vinegar helps to remove makeup residue effectively and doesn't leave a lingering smell.
- Air drying on a napkin or towel speeds up the drying process, taking approximately 2-3 hours.