The holiday season calls for dazzling makeup looks, and this year, we're mastering the art of seamless eyeshadow blending using a humble dry sponge. Forget harsh lines and patchy colours; this tutorial will unlock the secret to effortlessly blended eyeshadow that captivates and shines, perfect for those festive parties and gatherings. We'll explore how this surprisingly effective tool can create a soft, diffused effect, transforming your eyeshadow application from challenging to truly breathtaking.
Forget fiddly brushes; the dry sponge's unique texture provides a surprising level of control and precision, allowing you to achieve professional-looking results with minimal effort. This technique is perfect for both beginners looking to improve their skills and seasoned makeup enthusiasts seeking a new, faster approach. Get ready to ditch the fallout and embrace flawlessly blended eyeshadow this holiday season; let’s dive into the step-by-step process!
Preparation and Safety Guidelines
- Dry sponge (Ofra Cosmetics recommended)
- Eyeshadow palette
- Sticky tape (Real Techniques or regular office tape)
- Blending brush
- Glitter brush
- Angled brush
- Concealer
- Powder
- Cobalt blue eyeliner pencil (ColourPop Floater Matte Retractable Pencil or similar)
- Flat shading brush
- Mascara
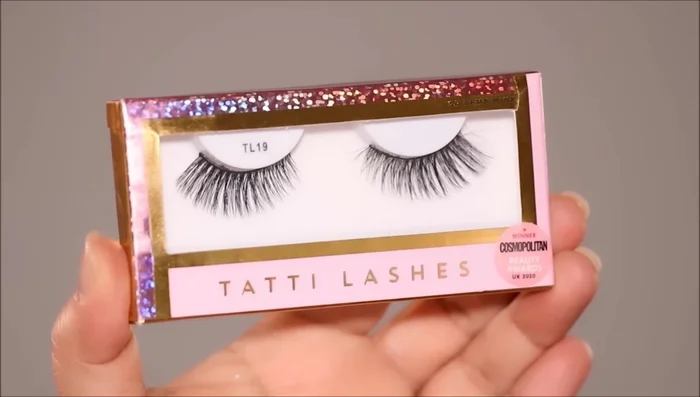
- False lashes (TTY Lashes tl9 used)
- Lip liner (Make Up For Ever Limitless Brown used)
- Nude lipstick
- Always use a clean, dry sponge for each application to avoid cross-contamination and maintain hygiene. Wash your sponges regularly.
- Start with a light hand and build up color gradually. It's easier to add more eyeshadow than to remove excess.
- Be mindful of the sponge's density. A denser sponge will provide more opaque coverage, while a softer sponge will give a sheerer, more diffused look.
Step-by-Step Instructions
Base Eyeshadow Application
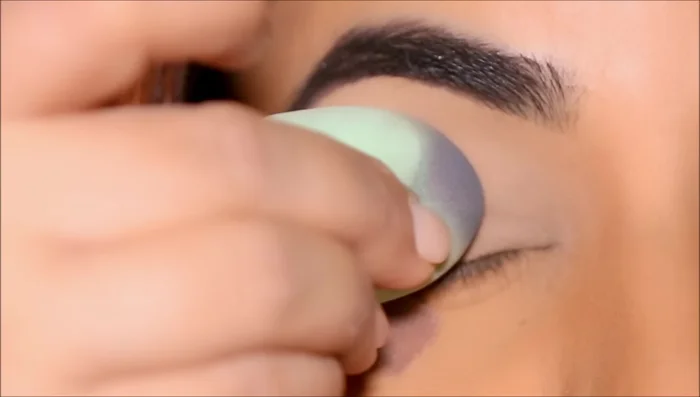
- Apply a dark eyeshadow (Button Nose) to the outer corner using a stamping motion with the dry sponge, blending towards the center.
- Apply a lighter eyeshadow (Splendid) to the center of the lid, using the sponge to blend the edges seamlessly into the darker shade.
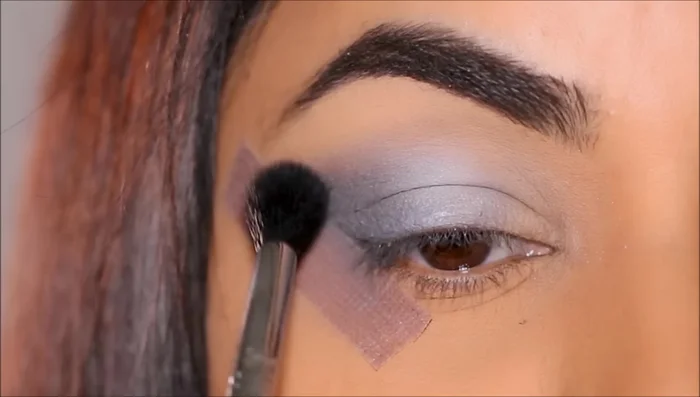
- Use a clean blending brush to soften any harsh lines.

Base Eyeshadow Application Adding Highlights and Glitter
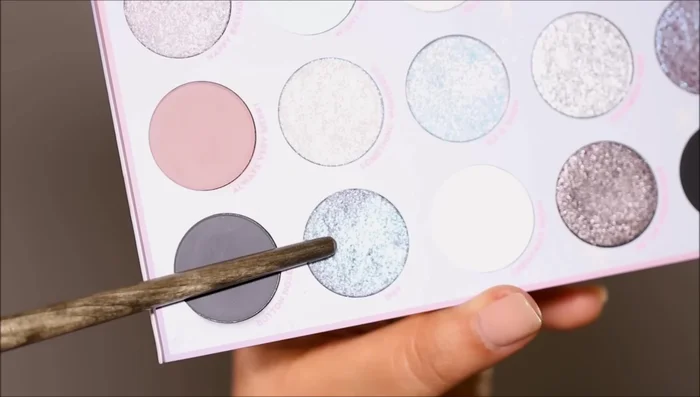
- Apply glitter to the inner corner, blending it with the other eyeshadows.
- Highlight the inner corner with a lighter shade (Jolly).
Adding Highlights and Glitter Deepening and Defining
- Deepen the outer corner with black eyeshadow and buff it out.
- Create a small wing and liner using the black eyeshadow and an angled brush.
Deepening and Defining Clean Up and Liner
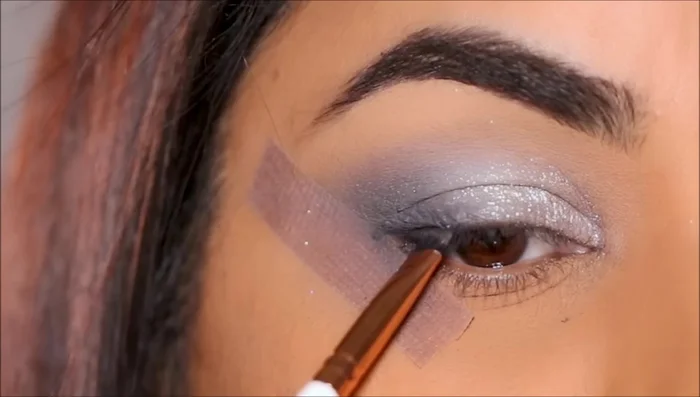
- Remove the tape and clean up any fall out with concealer and powder.
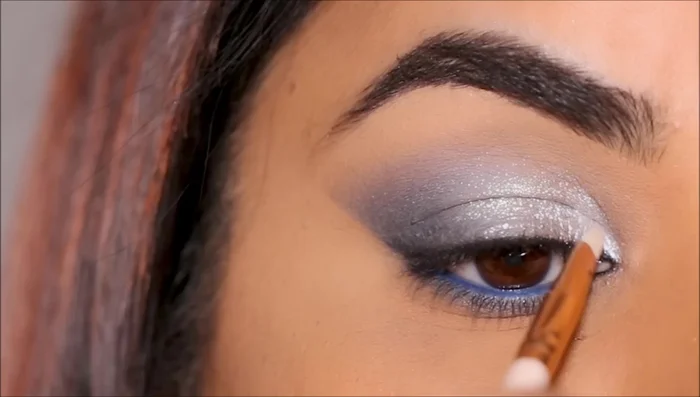
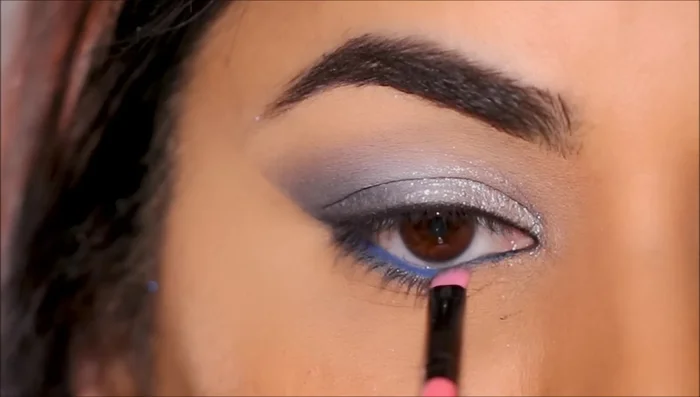
- Apply cobalt blue eyeliner to the waterline.
- Stamp the dark eyeshadow (Button Nose) underneath the liner and blend.
Clean Up and Liner Lashes and Mascara
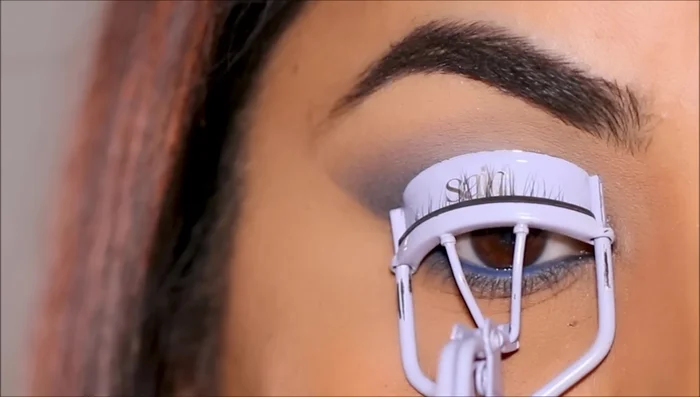
- Curl lashes and apply mascara.
- Apply false lashes.
Lashes and Mascara Lips
- Apply nude lip liner and lipstick.
Lips


Read more: Deep Clean Makeup Sponges: The Ultimate Guide for Sparkling Clean!
Tips
- Use a stamping motion to deposit as much product as possible when applying eyeshadow with the dry sponge.
- Keep layering eyeshadow until you reach the desired intensity.
- Sponges are great for softening harsh lines and creating a seamless blend.
- Keep eyeliner close to the lashes for a natural look.