The blush. That seemingly simple makeup staple holds the power to transform your look, adding a youthful glow, sculpting your features, or even providing a subtle pop of color. From subtle washes of color to dramatic, sculpted cheekbones, mastering the art of blush application can elevate your makeup game significantly. Finding the perfect shade and application technique, however, can feel overwhelming, leaving many struggling to achieve a flawless, natural finish. But fear not, achieving that coveted radiant complexion is simpler than you think.
This article will guide you through four expert techniques, transforming your blush application from hesitant dabbing to a confident, professional-looking result. We'll break down each step, offering practical tips and tricks to help you choose the right blush for your skin tone and flawlessly apply it, no matter your skill level. Prepare to unlock the secret to a naturally radiant and perfectly sculpted complexion, ready to embrace the power of the perfect blush.
Safety Guidelines
- Always blend thoroughly to avoid harsh lines and achieve a natural-looking flush. Use gentle, circular motions.
- Start with a small amount of blush and build up gradually. It's easier to add more than to take it away.
- Choose a blush shade that complements your skin tone and undertones. Experiment to find what works best for you.
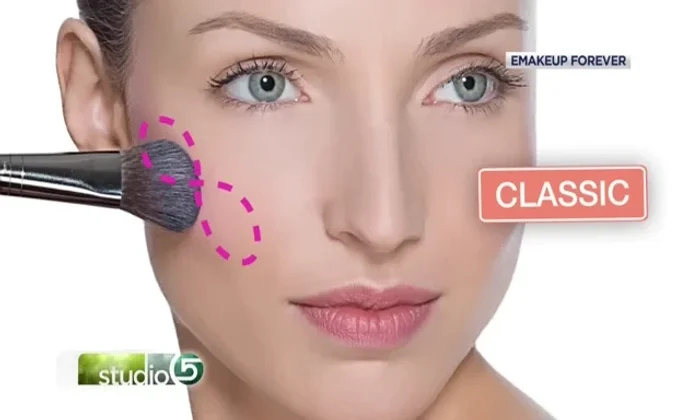
Methods: Classic Cheekbone Blush
Tools Needed
- Loose domed brush
Step-by-Step Instructions
Locate Cheekbone High Point
- Apply an oval shape of blush on the highest point of your cheekbone (find this by making a 'fish face').
Apply Blush Strategically
- Apply blush a little bit further back, not on the apples of your cheeks.

Apply Blush Strategically
Tips
- Use a light hand and blend well for a soft, natural look. You can always build up the color.
- Brighter colors can be used for this technique because of its placement farther back on the face.
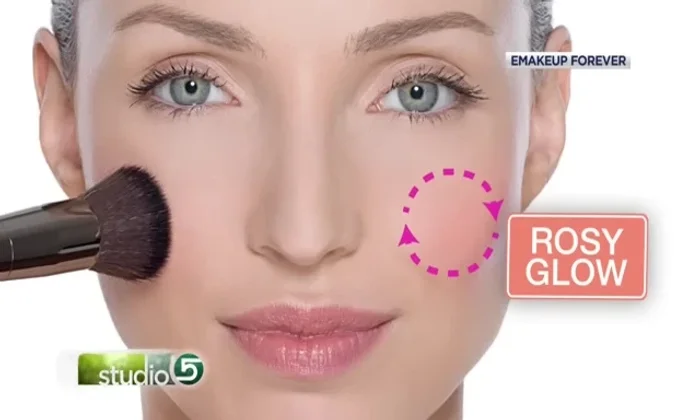
Methods: Rosy Apple Blush (for a youthful glow)
Tools Needed
Step-by-Step Instructions
Locate the Apples of Your Cheeks
- Smile to find the apples of your cheeks (the roundest part of your face when you smile).
Locate the Apples of Your Cheeks Apply Blush
- Apply blush directly to the apples of your cheeks using a dabbing/tapping motion.
Apply Blush
Tips
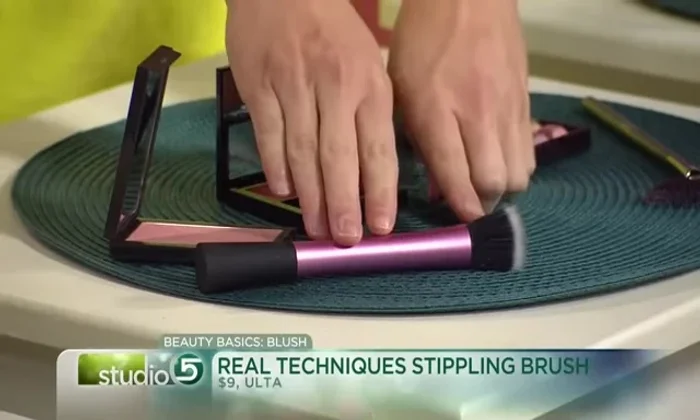
- Use a stippling brush to dab and tap, not swirl. This technique is great for long faces, as it adds width to the mid-face.
- A slight shimmer or sheen can be added, but avoid glitter.
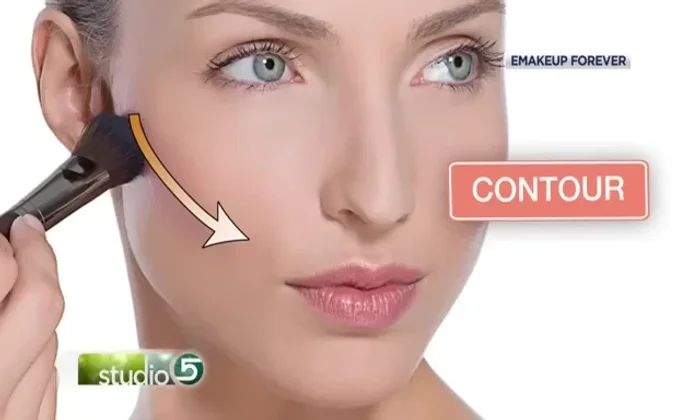
Methods: Sculpted & Highlighted Cheekbones
Tools Needed
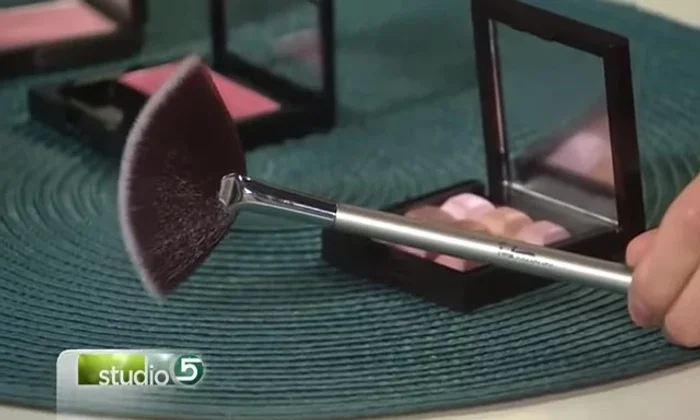
- Fan brush
- Angled brush
Step-by-Step Instructions
Highlighting
- (Highlight) Use a fan brush to apply a highlighter underneath your eyes and sweep it upwards towards your temples.
Highlighting Contouring
- (Sculpt) Use an angled brush and a bronzer/brown blush to apply a contour underneath your cheekbones to create a chiseled look.
Contouring
Tips
- This technique is excellent for long, oval, heart-shaped, round, or square faces. The highlight will stretch out the face, and the contour will create definition.
- A slight shimmer can be incorporated into the highlighter for this technique.
- For the sculpting step, use a blush with brown or bronze tones to mimic shadow and create a more sculpted look.
Read more: Deep Clean Your Makeup Brushes: The Ultimate Guide for Flawless Skin