Dirty makeup brushes are a breeding ground for bacteria, leading to breakouts and dull skin. While a deep clean is essential, a quick 3-minute refresh can significantly improve your complexion and extend the lifespan of your beloved brushes. This is especially crucial for those with busy schedules who might struggle to dedicate ample time to thorough cleaning. Imagine a complexion free from blemishes and makeup residue, achieved with just a few simple steps. Investing a mere three minutes in daily brush maintenance dramatically impacts the overall health and appearance of your skin, offering a simple yet powerful beauty routine enhancement.
This ultimate guide provides a streamlined, effective method for cleaning and drying your makeup brushes in just three minutes, ensuring you always have pristine tools ready for application. Ready to learn how to achieve flawlessly clean brushes and radiant skin? Let's dive into the step-by-step process!
Safety Guidelines
- Avoid using hot water, which can damage brush bristles and handles. Lukewarm water is best.
- Always reshape your brushes after cleaning and lay them flat to dry; avoid standing them upright as this can cause water to seep into the ferrule and damage the glue, leading to bristle shedding.
- Never use harsh chemicals or abrasive cleaners, as these can damage the bristles and potentially contaminate your makeup.
Methods: Speedy Soap & Water Brush Cleaning
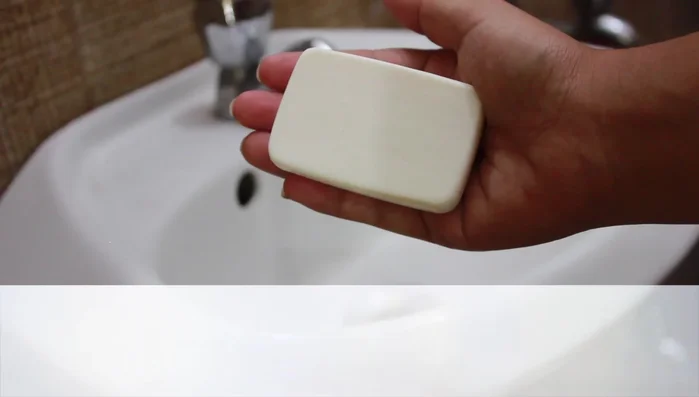
Tools Needed
- Bar of gentle soap
- Mug of water
- Running tap water
- Cream towel or paper towel
- Blow dryer
Step-by-Step Instructions
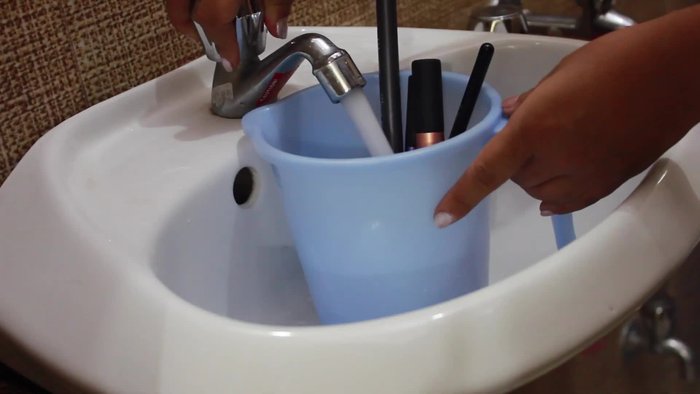
Initial Soak
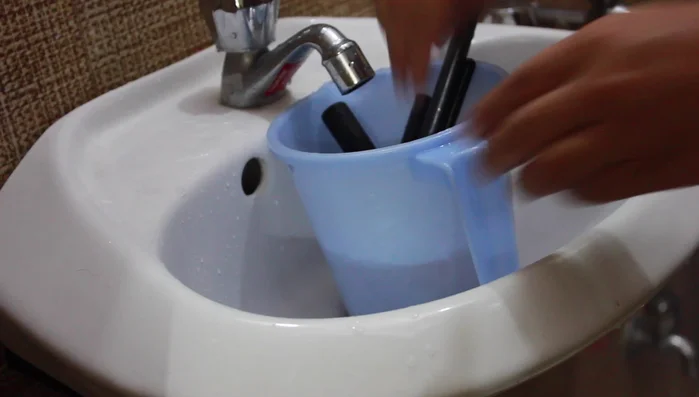
- Soak dirty brushes in a mug of water.

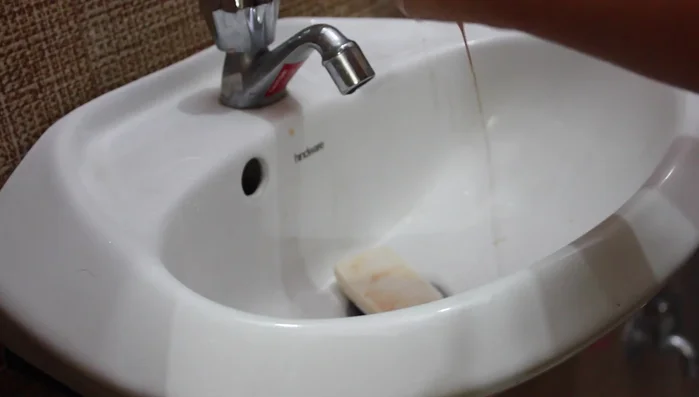
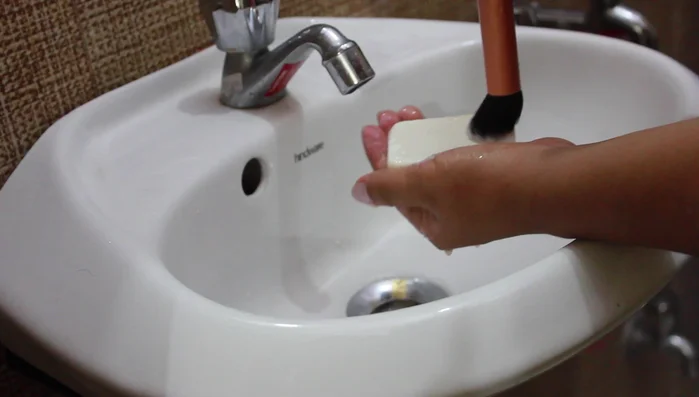
Initial Soak Soap Wash & Rinse
- Swirl brushes in gentle soap, lathering on palms.
- Rinse thoroughly under running tap water, rubbing on hands to remove all lather.
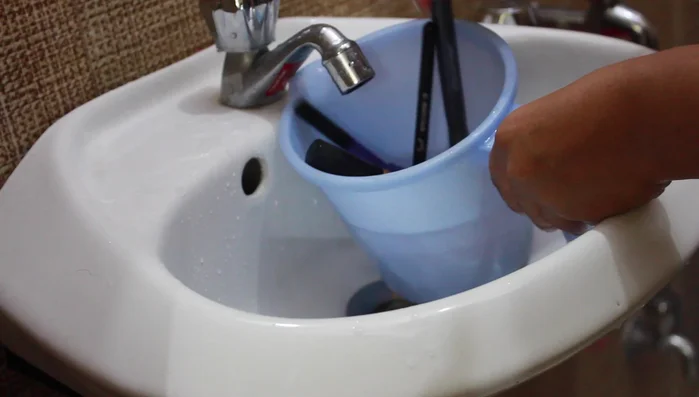
Soap Wash & Rinse Repeat Wash & Rinse (if necessary)
- Repeat steps 2 & 3 if needed.
Repeat Wash & Rinse (if necessary) Final Rinse
- Give brushes a final rinse in a mug of clean water.
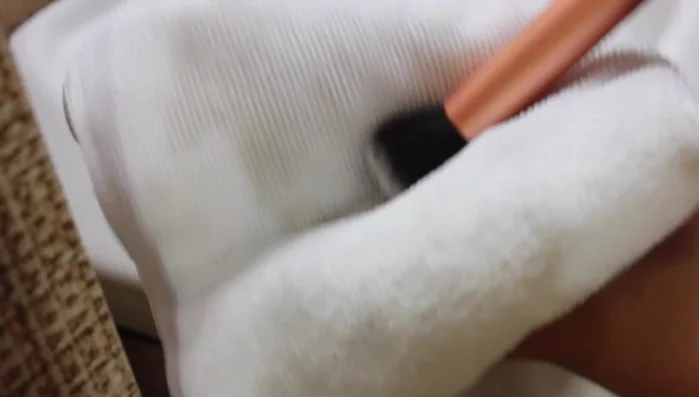
Final Rinse Gentle Water Removal
- Gently squeeze out excess water from bristles (avoid pulling or tugging).
Gentle Water Removal Towel Dry
- Swirl brushes in a cream or paper towel to absorb more water.
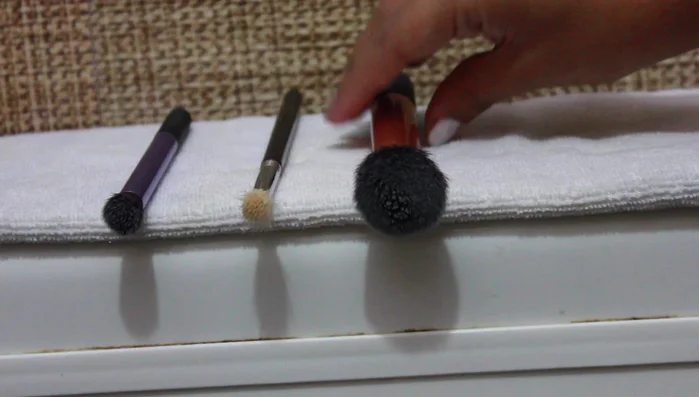
Towel Dry Final Drying
- Lay brushes flat at a 360° angle to air dry (or use a blow dryer on medium heat, aiming in the direction of hair growth).
Final Drying
Tips
- Use gentle circular motions (clockwise and anticlockwise) to avoid damaging bristles.
- Ensure all lather is removed to prevent damage to bristles.
- Tapping off excess water helps speed up drying by 20-30%.
Read more: Deep Clean Your Makeup Brushes: The Ultimate Guide for Flawless Skin