Mastering winged eyeliner can feel like a daunting task, a seemingly impossible feat of precision that often ends in smudged frustration. But what if we told you that achieving that perfect, flicked-out wing is easier than you think? This tutorial is designed specifically for beginners, offering two simple and accessible methods that will help you conquer your eyeliner anxieties and unlock a confident, glamorous eye look. Forget the frustration and say goodbye to uneven lines – we're about to demystify the art of winged eyeliner.
We understand the struggle of achieving symmetry and sharpness, so we've broken down the process into easy-to-follow steps, using readily available tools and techniques. Whether you prefer a classic sharp wing or a softer, more diffused look, this tutorial will guide you through each step, providing tips and tricks to help you achieve your desired effect. Ready to get started? Let's dive into our step-by-step guide to creating effortlessly chic winged eyeliner.
Safety Guidelines
- Start with small, thin strokes. It's easier to build up the wing than to correct a large mistake.
- Use a mirror that is at eye level or slightly below to see your entire eyelid and wing clearly.
- If you make a mistake, use a cotton swab dipped in makeup remover to gently correct it before the product sets.
Methods: Winged Eyeliner with Angled Brush
Tools Needed
- Maybelline Eye Studio Black is Black eyeliner
- angled brush
Step-by-Step Instructions
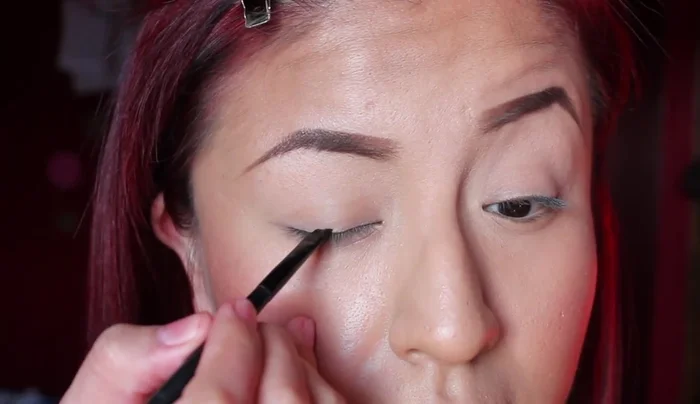
Applying a Basic Liner
- Apply a straight eyeliner look using the angled brush.

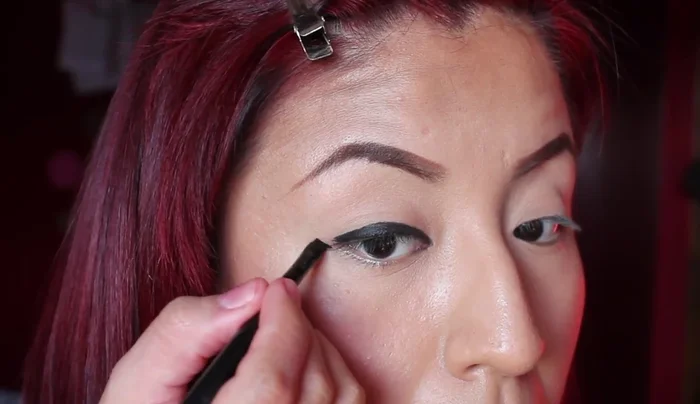
Applying a Basic Liner Creating the Wing
- Grab more eyeliner and use the tip of the brush to create a line, using your lower lid as a guideline. Connect it towards your brow.
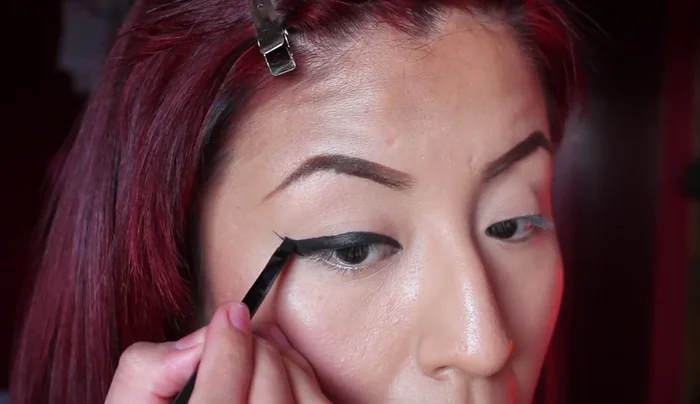
Creating the Wing Connecting and Defining the Wing
- Create a line using the tip of the angled brush, connecting it with the eyeliner. Fill it in gently, using the tip of the angled brush.
Connecting and Defining the Wing Perfecting the Wing
- Turn the brush to connect the line a little bit more and make it perfect.
Perfecting the Wing

Tips
- Apply eyeliner using the tip of your angled brush for a clean line.
Methods: Winged Eyeliner with Tape
Tools Needed
- Maybelline Eye Studio Black is Black eyeliner
- angled brush
- tape
Step-by-Step Instructions
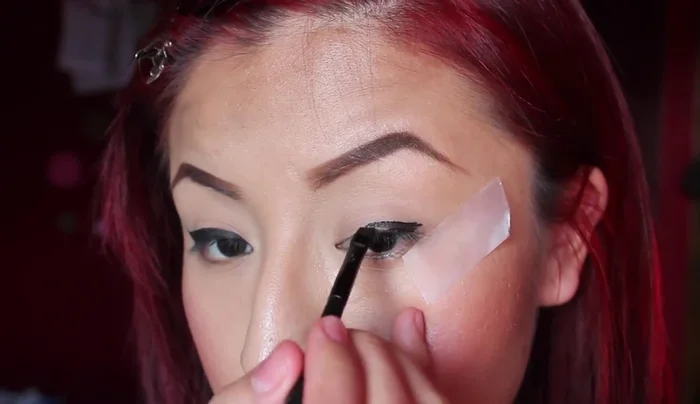
Prepare for winged eyeliner with tape
- Place tape below the lower lid, connecting to your brow. Ensure the sticky side is away from your skin.
Prepare for winged eyeliner with tape Apply base eyeliner
- Create a straight liner look.
Apply base eyeliner Create the wing with tape
- Extend the eyeliner towards the end. You don't have to be cautious because you're using tape.
Create the wing with tape
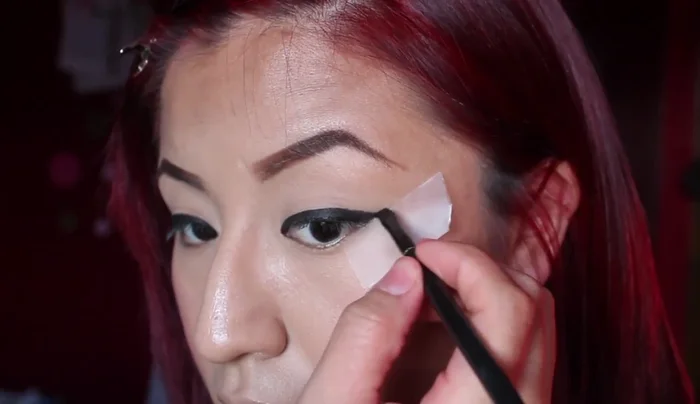
Tips
- This method is easiest for beginners.