The golden cut crease: a makeup technique that effortlessly elevates your eye look from everyday chic to stunningly sophisticated. This dramatic yet versatile style involves creating a sharp, defined crease using a shimmering, golden shade – a true statement-maker that adds dimension and luminosity to your eyes. Whether you're a makeup novice or a seasoned pro, mastering the golden cut crease can dramatically enhance your features and add a touch of glamour to any occasion, from a casual brunch to a special evening event. It's all about precision and blending, but the payoff is a flawlessly polished, captivating gaze.
This tutorial will guide you through each step, from prepping your eyelids to achieving that perfect, sharp line. We'll break down the process into easily manageable steps, offering tips and tricks along the way to help you achieve a breathtaking golden cut crease, regardless of your skill level. Get ready to unleash your inner makeup artist and discover the magic of this transformative technique!
Preparation and Safety Guidelines
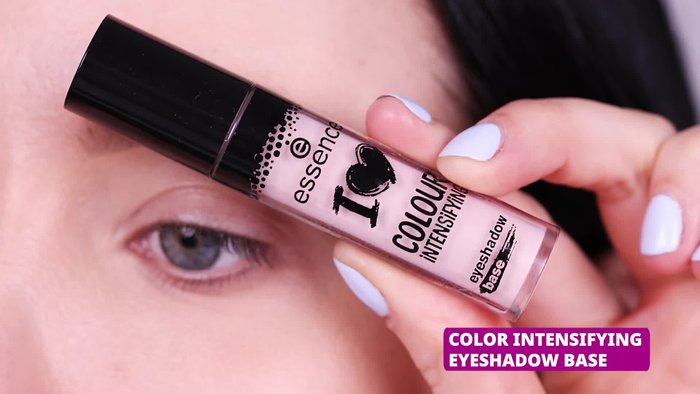
- Essence color intensifying eyeshadow base
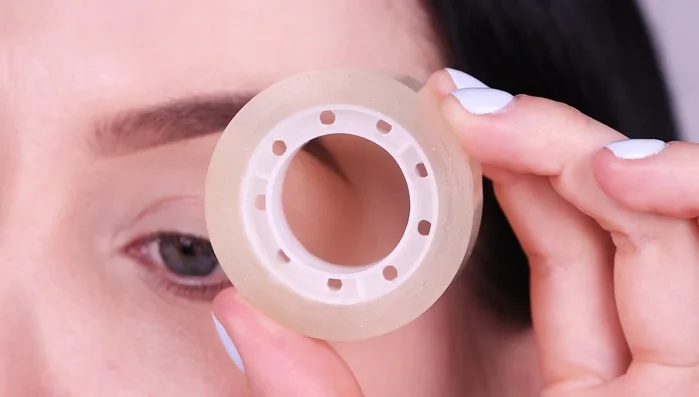
- Sticky tape
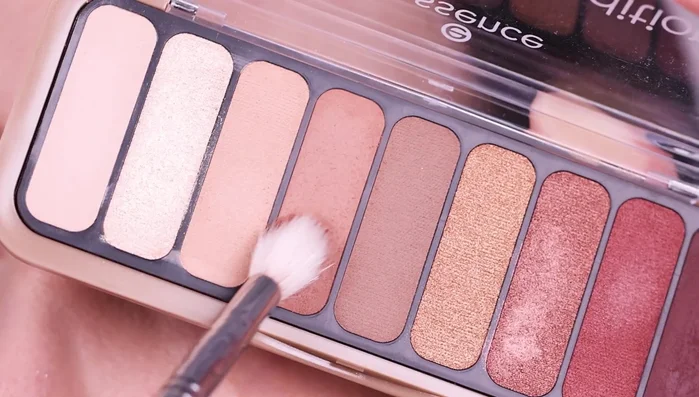
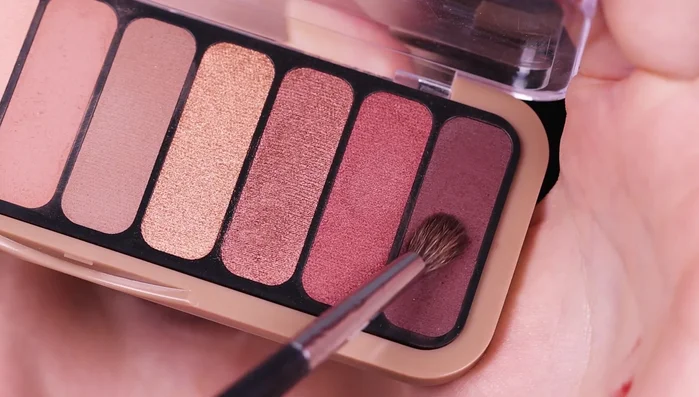
- Essence daily dose of energy eyeshadow palette
- Essence the brown edition eyeshadow palette
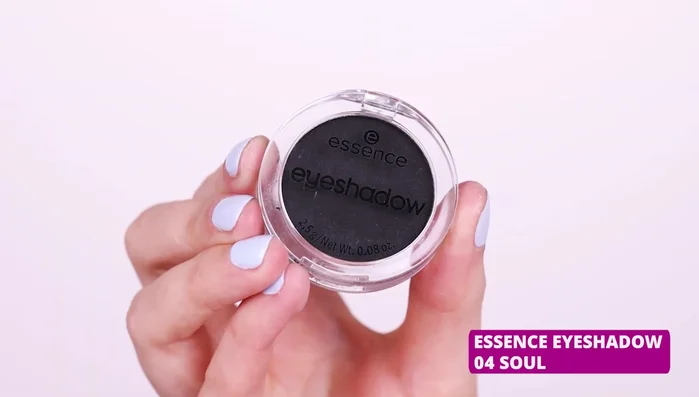
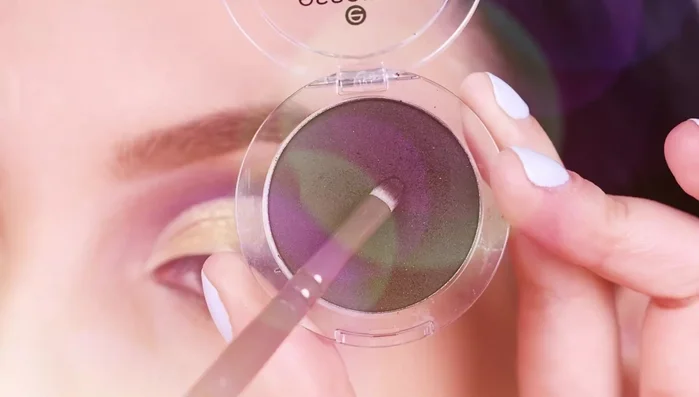
- Single eyeshadow (shade 004)
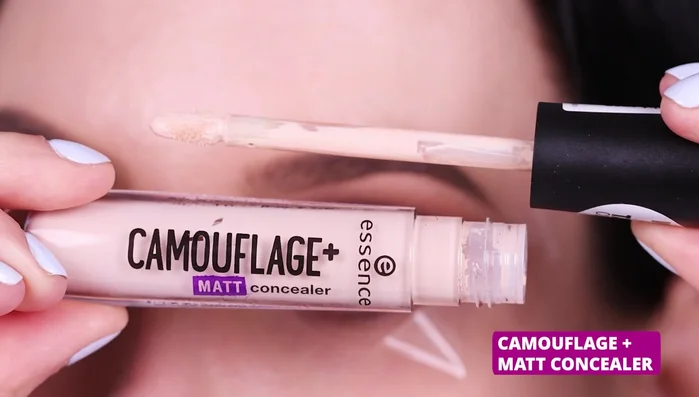
- Essence camouflage matte concealer
- Flat brush
- Blending brush
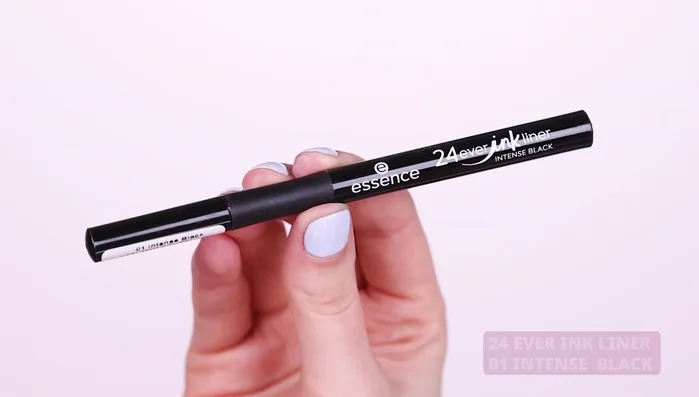
- Essence 20 forever ink liner (intense black)
- Essence long lasting eye pencil (black fever)
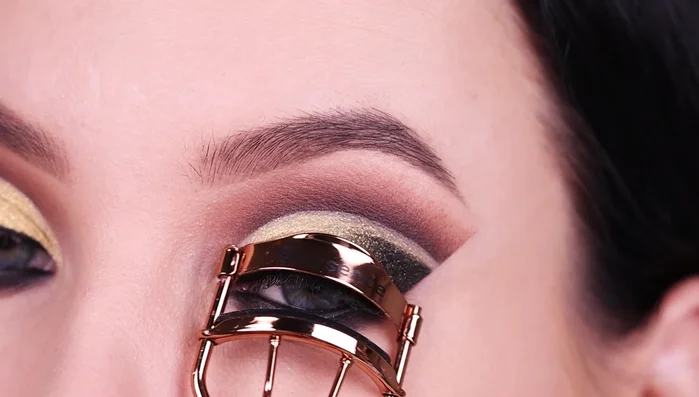
- Essence lash curler
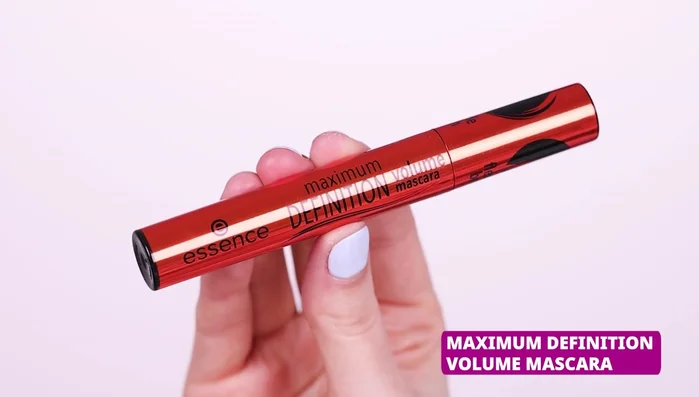
- Essence maximum definition volume mascara
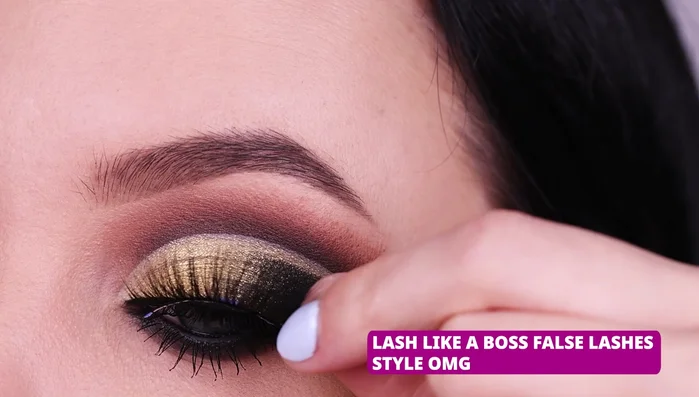
- Essence false lashes
- Always use clean brushes and applicators to prevent bacterial contamination and skin irritation. Wash brushes regularly with mild soap and water.
- Avoid pulling or tugging on your eyelids during application. This can cause premature wrinkles and sagging.
- If you experience any burning, itching, or redness, immediately remove the makeup and consult a dermatologist. Test new products on a small area of skin before full application.
Step-by-Step Instructions
Prep and Prime
- Prime eyelids with eyeshadow base.
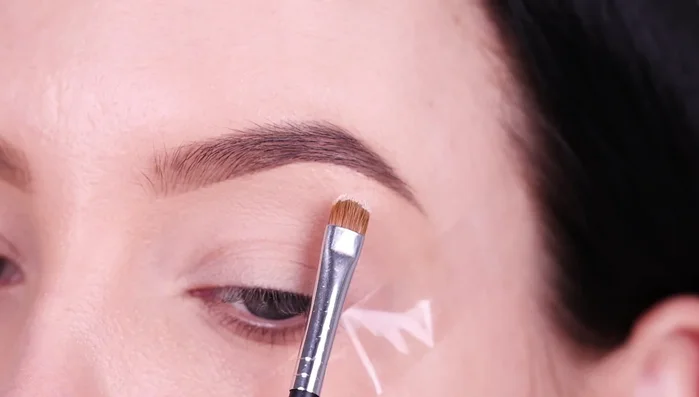
- Apply sticky tape at the outer end of the eyelid to create a sharp line.

Prep and Prime Base Shadow and Highlight
- Apply the lightest eyeshadow shade from your palette under the brow bone to highlight.
- Blend medium brown shades into the crease as a base.
- Darken the crease with a darker brown shade, using a smaller blending brush.
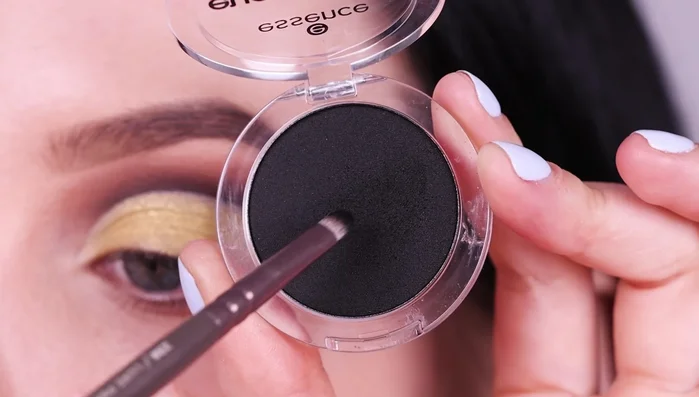
- Deepen the crease further with matte black eyeshadow, using a tiny brush.
Base Shadow and Highlight Cut Crease
- Clean up the eyelid and cut the crease using matte concealer and a flat brush.
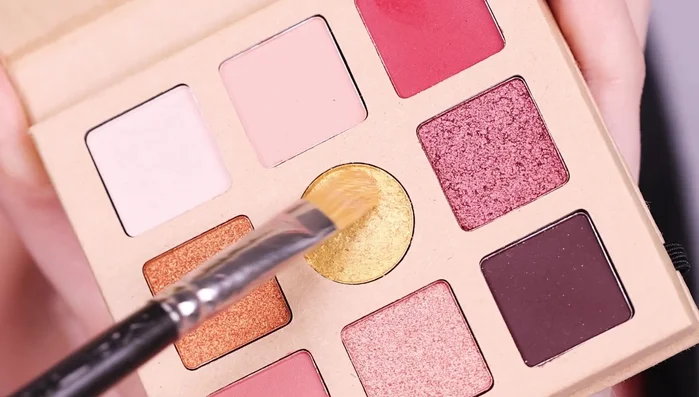
Cut Crease Golden Lid
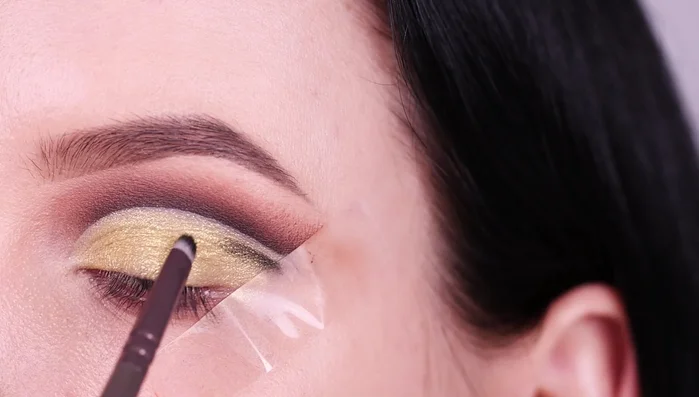
- Apply golden eyeshadow all over the eyelid using a flat brush.
Golden Lid Double Cut Crease
- Create a double cut crease effect by applying black eyeshadow underneath the crease line, leaving a small space in between.
- Softly blend the black eyeshadow towards the middle of the crease.
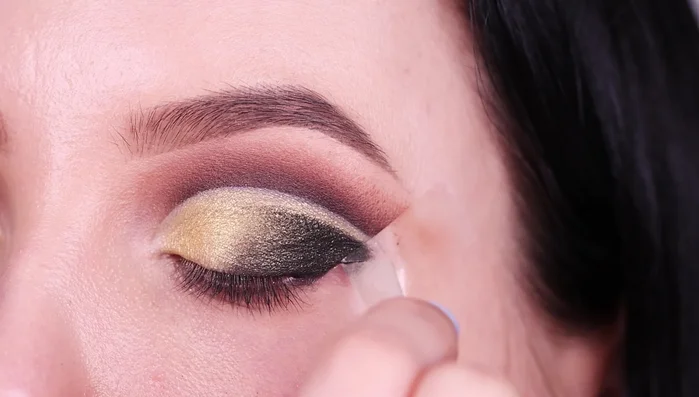
Double Cut Crease Clean Up and Sharpen
- Remove sticky tape.
Clean Up and Sharpen Eyeliner and Lower Lash Line
- Apply eyeliner above the lash line and in the waterline.
- Apply black eyeshadow to the lower lash line and blend.
Eyeliner and Lower Lash Line Lashes
- Curl lashes.
- Apply mascara to upper and lower lashes.
- Apply false lashes.
Lashes
Read more: Ultimate Makeup Organization: Drawer Dividers & Palette Storage
Tips
- Using an eyeshadow base ensures your eyeshadow stays flawless and intensifies the colors.
- Using sticky tape helps create a sharp, clean cut crease.
- Blend eyeshadows well for a seamless look.
- Use a smaller brush for precise application in the crease.
- Don't pick up extra product on your brush when blending black eyeshadow to prevent harsh lines.