Concealer: the magic wand of makeup, capable of transforming tired eyes and blemishes into a flawless canvas. We all crave that perfect, airbrushed look, but often find ourselves battling with heavy, cakey application. The key isn't piling on more product, but mastering the techniques that maximize coverage while minimizing the amount used. Over-application can actually highlight the very imperfections you're trying to conceal, leading to a less-than-desirable result. This often leaves us looking heavy, masking our natural beauty.
This article unveils five expert concealer techniques to help you achieve that sought-after flawless finish with minimal product. Get ready to learn how to strategically apply concealer for a natural, radiant look that lasts all day, without the heavy feeling. Let's dive into the step-by-step guide to unlocking your most perfect complexion yet.
Safety Guidelines
- Always choose a concealer shade that matches your skin tone or is one shade lighter for brightening. Using a significantly darker shade can result in a cakey, unnatural look.
- Less is more! Start with a tiny amount of concealer and build up gradually. Layering too much product can lead to creasing and a heavy appearance.
- Blend, blend, blend! Use a small, soft brush or your ring finger to gently blend the concealer seamlessly into your skin. Harsh lines will draw attention to imperfections instead of concealing them.
Methods: Spread First, Apply Second Technique
Tools Needed
- Concealer
- Fingertips
Step-by-Step Instructions
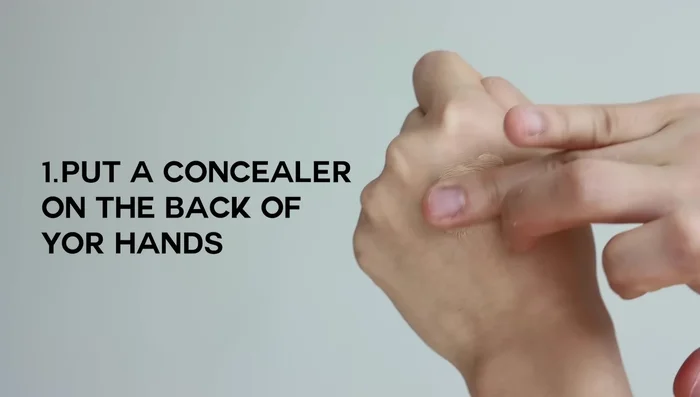
Preparation
- Place concealer on the back of your hand.

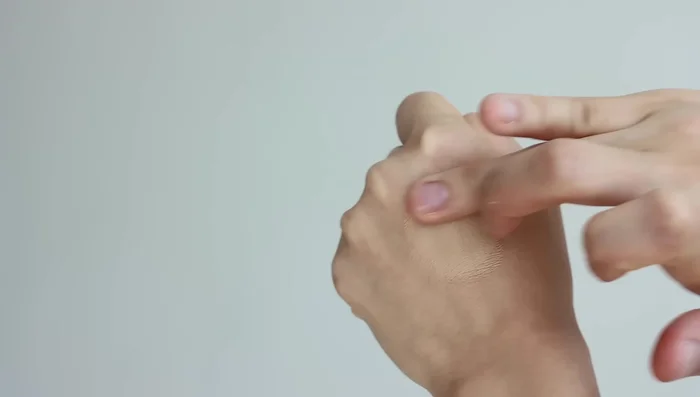
Preparation Application
- Blend with your fingertips.
- Apply to the under-eye area, one layer at a time.
Application
Tips
- This technique lessens creasing and patching.
- The warmth of your fingers helps melt the product for better blending, especially for those with wrinkles.
- Add more layers for increased coverage as needed.
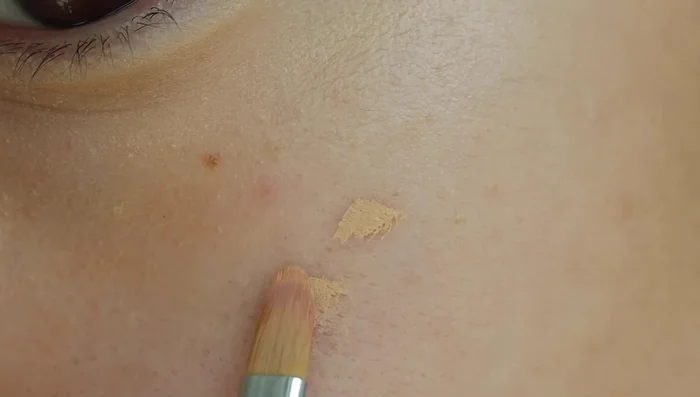
Methods: Drawing Thin Lines Technique
Tools Needed
Step-by-Step Instructions
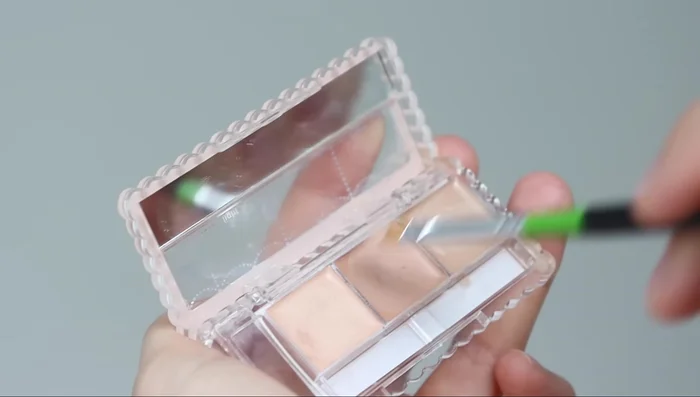
Concealer Application
- Use a small concealer brush to apply concealer to targeted lines and areas (under eye, eye bags).
- Apply in thin lines, only where needed.
Concealer Application Blending
- Blend carefully.
Tips
- Choose a concealer shade that matches your skin tone or is slightly lighter.
- This method prevents a cakey look and heavy application.
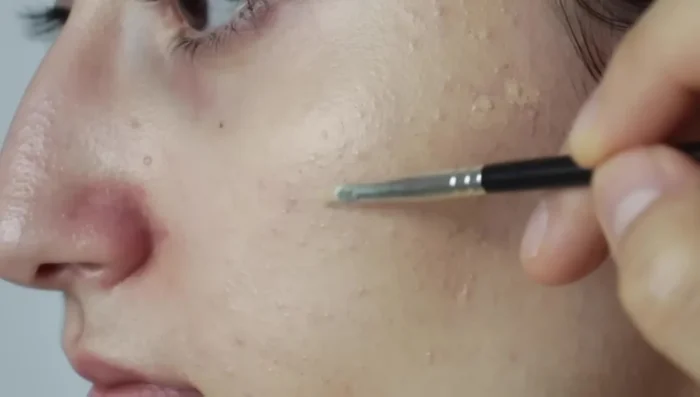
Methods: Pointy Concentrated Technique
Tools Needed
Step-by-Step Instructions
Conceal the Blemish
- Apply concealer directly onto the blemish or acne.
Conceal the Blemish Blend the Edges
- Carefully blend the edges, not the entire area.
Blend the Edges
Tips
- This three-dimensional approach prevents over-coverage and a cakey look.
- Blending only the edges allows the concealer to settle and maintain coverage while looking natural.
Methods: Let it Dry Technique
Tools Needed
Step-by-Step Instructions
Concealer Application
- Apply concealer to the area.
Drying Time
- Let it dry for a few seconds.
Tips
- Drying enhances coverage by removing moisture.
- This technique is great for dark hyperpigmentation or dark spots.
Read more: Best Concealers for Mature Skin: A 7-Day Under-Eye Transformation