Tired of battling dark circles, blemishes, and redness that seem impossible to conceal? Mastering color correction is the key to achieving a flawless, natural-looking complexion, transforming your makeup routine from frustrating to effortless. No longer will you be plagued by uneven skin tone or the heavy-handed application that can often make imperfections more noticeable. Learning the art of color correction allows you to address specific skin concerns with precision, using strategically chosen shades to neutralize unwanted hues and create a perfect canvas for your foundation.
This comprehensive guide will walk you through the precise techniques and color theory principles needed to expertly conceal dark circles, acne, and redness. We'll delve into the step-by-step process of selecting the right color correctors, applying them correctly, and blending seamlessly for a radiant, even finish. Get ready to unlock your inner makeup artist and discover the secrets to achieving professional-level results!
Preparation and Safety Guidelines
- Always test any new product on a small, inconspicuous area of skin before applying it to your entire face to check for allergic reactions.
- Avoid harsh scrubbing or rubbing when applying or removing makeup, as this can irritate the skin and worsen blemishes or dark circles.
- Use clean brushes and sponges to prevent bacterial contamination and potential breakouts.
Step-by-Step Instructions
Correcting Dark Circles and Pigmentation
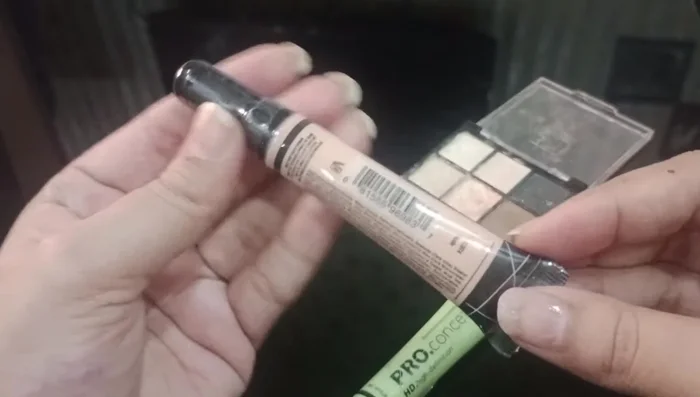
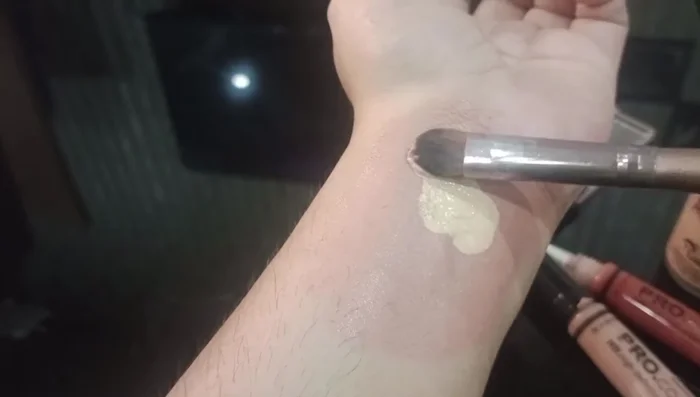
- Apply orange color corrector to dark circles, pigmentation, or brown/blue-toned blemishes.
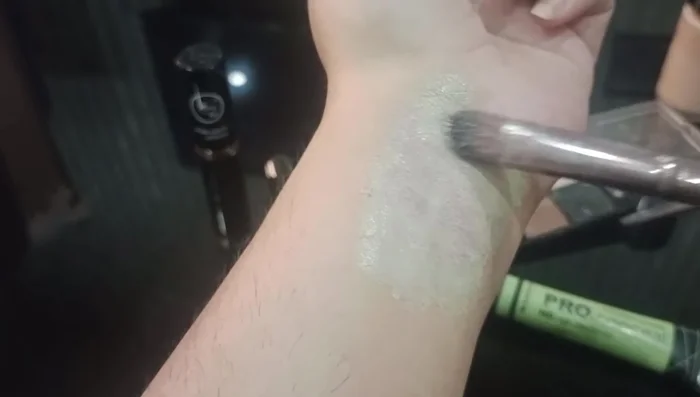
- Gently blend the orange corrector by tapping with a brush or sponge. Avoid rubbing.
- Apply your skin-toned concealer over the orange corrector to even out the skin tone.
- Apply foundation as usual, and set with powder for long-lasting results.

Correcting Dark Circles and Pigmentation Correcting Redness and Acne
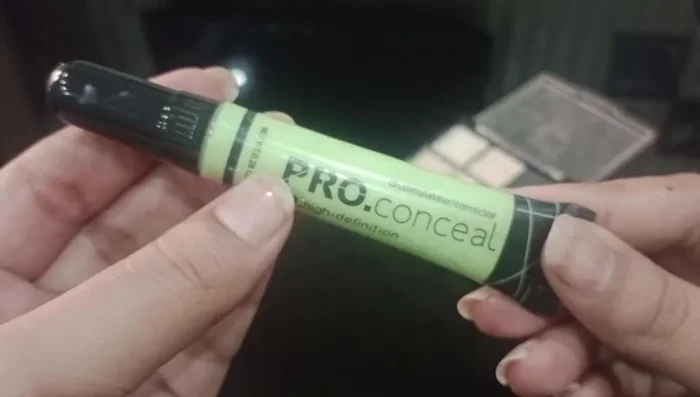
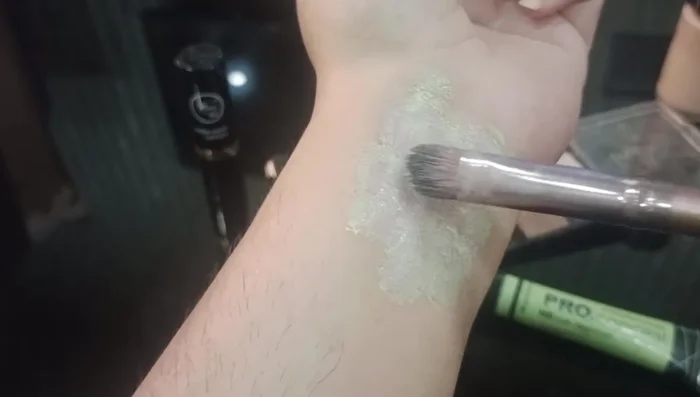
- Apply green color corrector to redness, acne, or sensitive skin.
- Blend the green corrector gently, tapping it in place to avoid smudging.
- Apply skin-toned concealer and foundation to set the green corrector and create a flawless base.
Correcting Redness and Acne Choosing the Right Corrector Shade
- For very fair skin, use a peach-toned color corrector instead of orange. For very dark skin, use the same orange corrector as used for normal to medium Asian skin tones.
Choosing the Right Corrector Shade


Read more: Conceal Dark Circles & Fine Lines: A Step-by-Step Guide
Tips
- Tap, don't rub, when blending color correctors to avoid streaking.
- Focus on the problem areas when applying color correctors.
- Use a skin-toned concealer and foundation to set the color corrector and create a natural look.
- Choose color correctors appropriate for your skin tone: peach for fair skin, orange for medium Asian skin tones, and adjust accordingly.