Unlock the allure of a glamorous bronze smokey eye with this easy-to-follow tutorial! Bronze eyeshadow offers a universally flattering warmth, perfect for enhancing any eye color and creating a sophisticated, yet effortlessly chic look. Whether you're a seasoned makeup pro or a complete beginner, this guide will demystify the smokey eye, proving that achieving this timeless look is easier than you might think. Forget complicated blending techniques and confusing color palettes; we'll focus on a simplified, strategic eyeshadow placement technique that guarantees a stunning result, every single time.
This tutorial breaks down the process into simple, manageable steps, making it perfect for busy schedules and skill levels. We’ll guide you through selecting the right shades, applying them with precision, and mastering the art of seamless blending. Get ready to ditch the intimidation and embrace the undeniable glamour of a perfectly executed bronze smokey eye. Let's dive into the step-by-step instructions and transform your look!
Preparation and Safety Guidelines
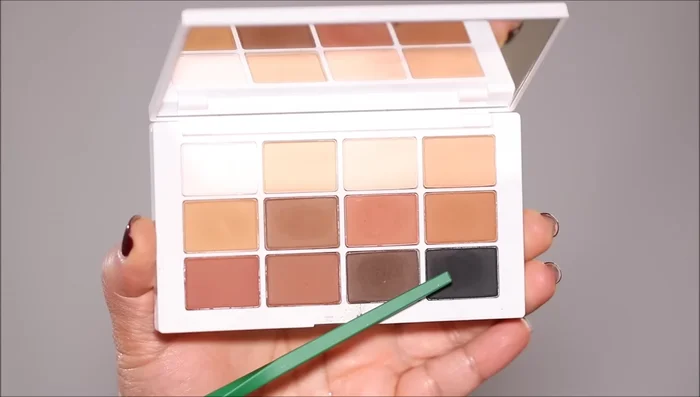
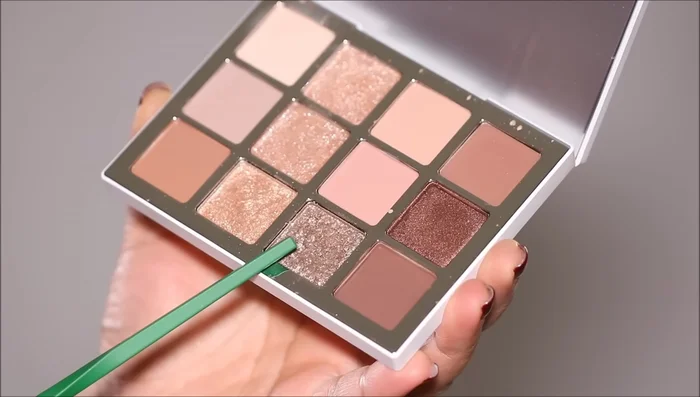
- Eyeshadow palette
- Sponge tip applicator
- Sticky tape (Real Techniques recommended)
- Blending brush
- Concealer
- Brown eyeshadow
- Shimmer eyeshadow
- remel scandalized pencil
- Urban Decay liquid liner
- Mascara
- False eyelashes (TTY Lashes tl10 recommended)
- Nude lipstick
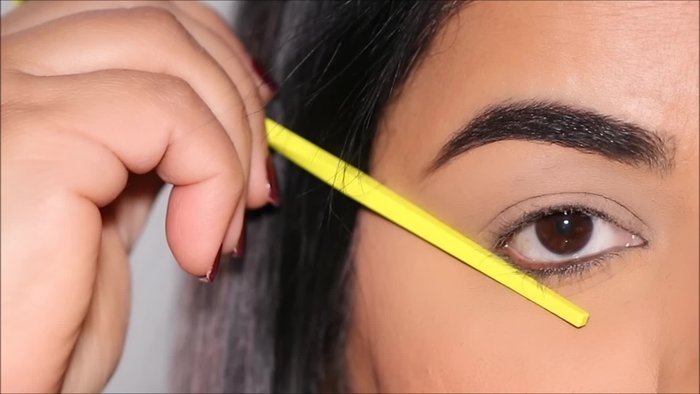
- Brow pencil
- Always use a primer before applying eyeshadow to ensure longevity and prevent creasing. A good primer will also help the colors blend more smoothly and intensely.
- Avoid getting eyeshadow in your eyes. If it happens, rinse thoroughly with lukewarm water. If irritation persists, consult a doctor.
- Clean your brushes regularly to prevent bacterial growth and maintain hygiene. Dirty brushes can transfer bacteria to your skin and eyes.
Step-by-Step Instructions
Prepare the Eyelid
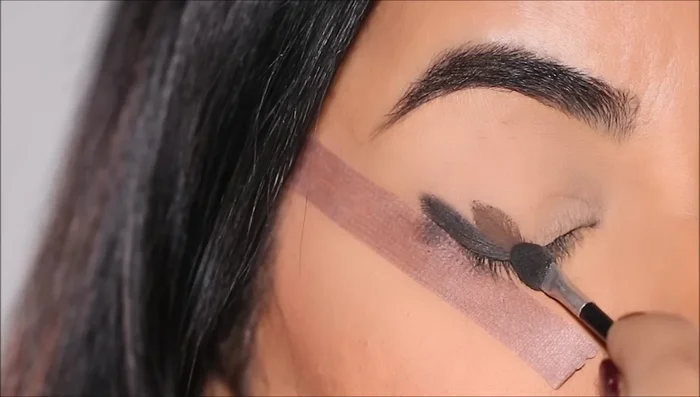
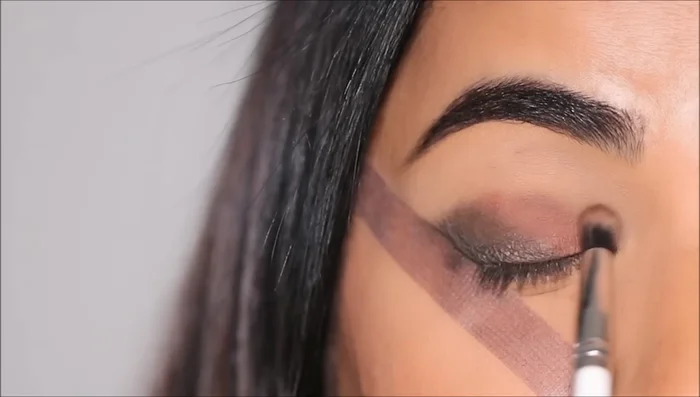
- Apply sticky tape to the outer corner of your eye as an extension of your lower lash line, angling it upwards and outwards.

Prepare the Eyelid Apply Base Eyeshadows
- Using a charcoal eyeshadow, swipe it right beside the sticky tape, pulling it towards the lash line.
- Apply a deeper brown shade next to the charcoal, followed by a lighter brown shade beside that.
Apply Base Eyeshadows Blend Eyeshadows
- Blend the lines where the eyeshadows meet, focusing only on the transition lines to avoid erasing the eyeshadow.
- Blend the lighter brown eyeshadow towards the inner corner. Add more eyeshadow until satisfied with the intensity.
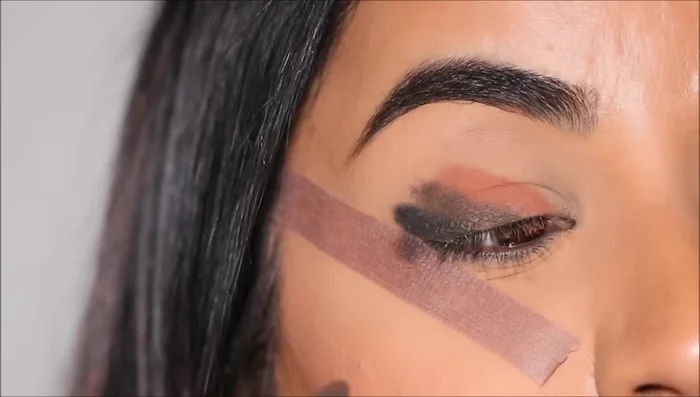
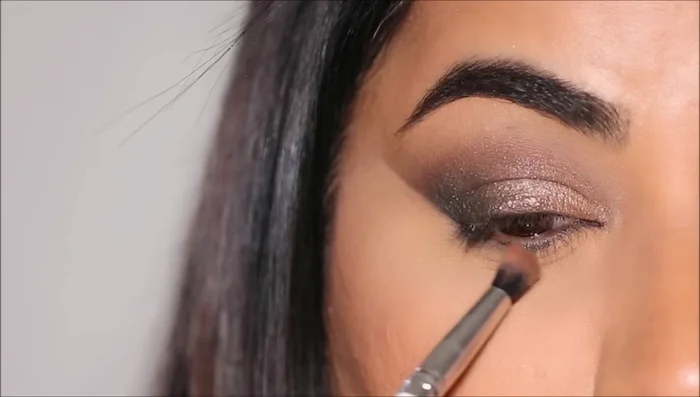
Blend Eyeshadows Add Shimmer
- Apply a shimmer eyeshadow using your finger, starting from the inner corner and tapering off towards the outer corner to cover harsh edges and create a seamless blend.
Add Shimmer Clean and Set
- Clean up any fallout and set with concealer.
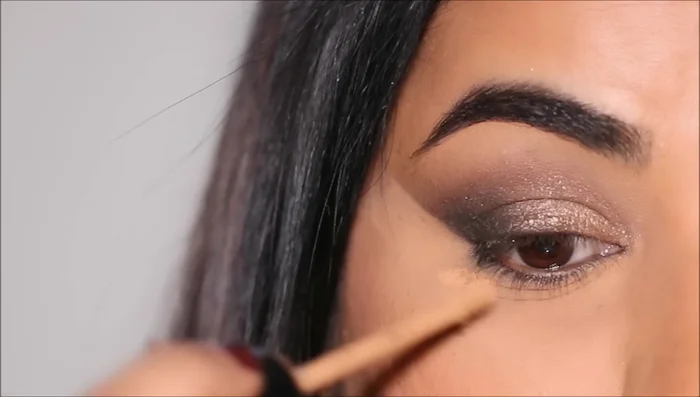
Clean and Set Lower Lash Line and Eyeliner
- Apply brown eyeshadow to smoke out and soften the lower lash line.
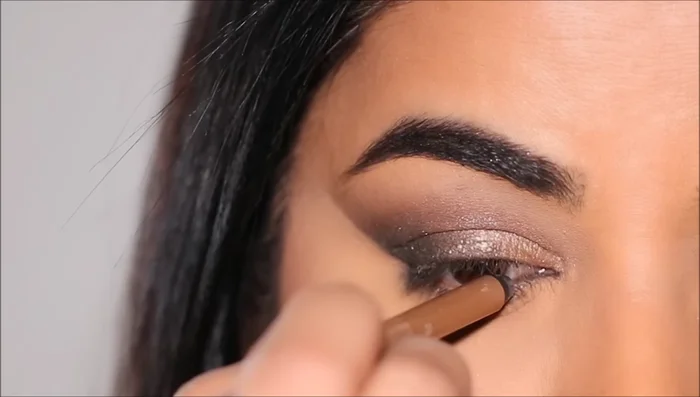
- Apply eyeliner (remel scandalized pencil in Hypnotic Gold in the waterline and Urban Decay liquid liner in Black for a small wing).
Lower Lash Line and Eyeliner Mascara and False Lashes
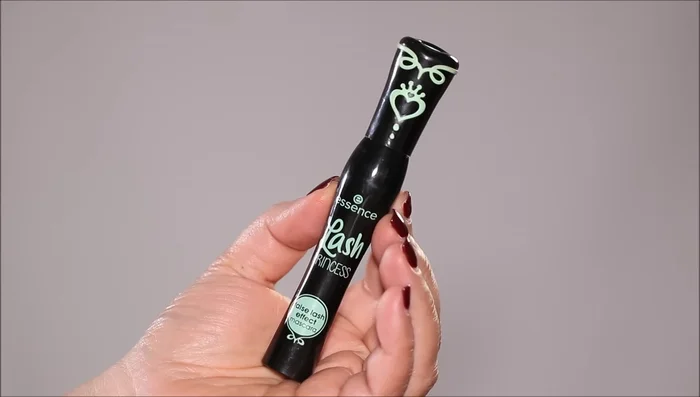
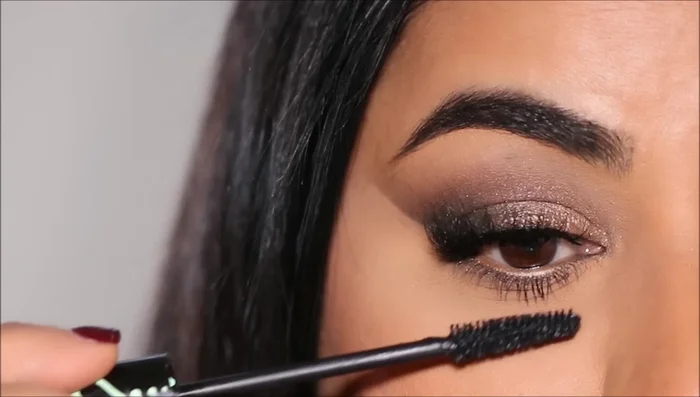
- Curl lashes and apply mascara (Essence Lash Princess recommended).
- Apply false eyelashes (TTY Lashes tl10 recommended).
Mascara and False Lashes Lips
- Line lips with a brow pencil, lightly shade inward, and then apply nude lipstick (REM Beauty Matte Lipstick in Bubbly recommended) in the center of the lips to create an ombre effect.
Read more: Achieve a Natural Sun-Kissed Glow: The Ultimate Bronzer Application Guide
Tips
- Using sticky tape as a stencil helps maintain a consistent angle for eyeshadow application.
- Blend only the transition lines between eyeshadow shades to avoid losing the eyeshadow effect.
- The shimmer eyeshadow is forgiving on blends, covering up any harsh edges.
- Using a brow pencil for lip lining prevents bleeding and creates a clean look.