We've all been there: your favorite lipstick, the perfect shade you meticulously chose, snaps in two, leaving you with a broken heart (and a broken lipstick). The immediate reaction might be to toss it in the trash, but don't despair! Before you succumb to the sadness of a lost beauty essential, know that there's a surprisingly simple and effective way to revive your beloved lip color. This method, known as the melt and mold technique, is a quick and easy fix that breathes new life into your broken lipstick, saving you money and heartache.
This surprisingly easy DIY project requires minimal materials and only takes a few minutes. Forget expensive replacements or settling for a subpar substitute; this guide will walk you through the step-by-step process of melting and remolding your broken lipstick, ensuring you can continue to enjoy your perfect shade without skipping a beat. Ready to get started? Let's dive into the details!
Preparation and Safety Guidelines
- Broken lipstick
- Candle or lighter (adult supervision required)
- Tissue paper
- Q-tip or lipstick brush
- Refrigerator
- Always use a clean, sanitized container and tools to avoid contaminating your lipstick. Bacteria can easily grow in melted lipstick.
- Avoid overheating the lipstick. Excessive heat can damage the formula, changing its texture and color. Use low heat and monitor carefully.
- If the lipstick contains any glitter or shimmer, be extra cautious during melting and pouring to prevent uneven distribution or settling.
Step-by-Step Instructions
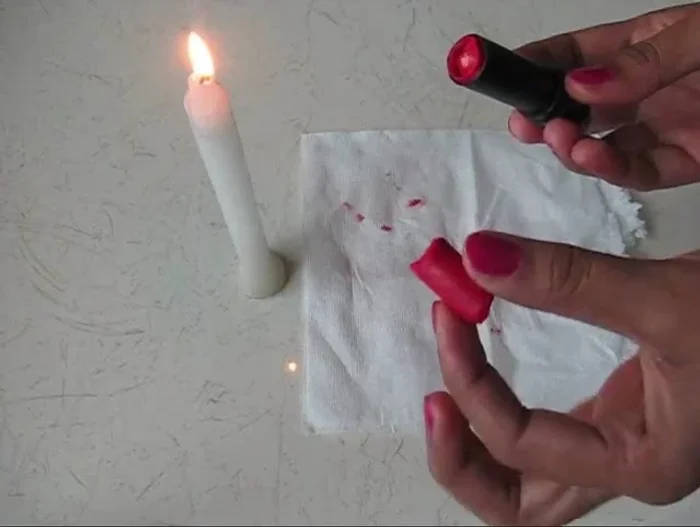
Prepare the Workspace
- Prepare your workspace. Place a tissue paper down to avoid making a mess.

Prepare the Workspace Remove Lipstick Pieces
- Carefully remove the broken lipstick pieces from the tube.
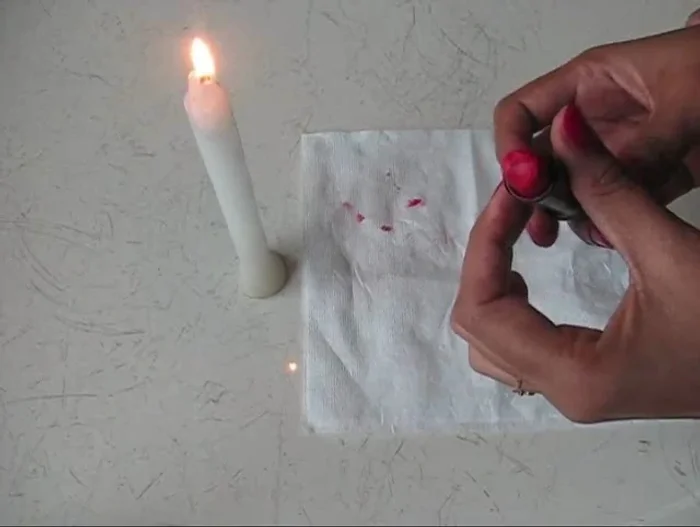
Remove Lipstick Pieces Melt the Lipstick
- Use a candle or lighter (under adult supervision if you're a child) to gently melt the broken lipstick pieces. Be cautious not to melt the plastic tube.
- Melt just enough to allow the pieces to combine; don't overheat.
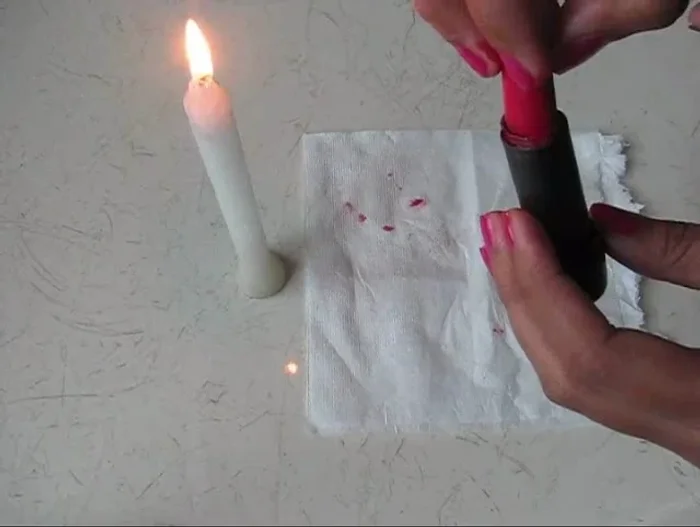
Melt the Lipstick Reform the Lipstick
- Firmly press the melted lipstick back into the tube.
Reform the Lipstick Clean Up Excess
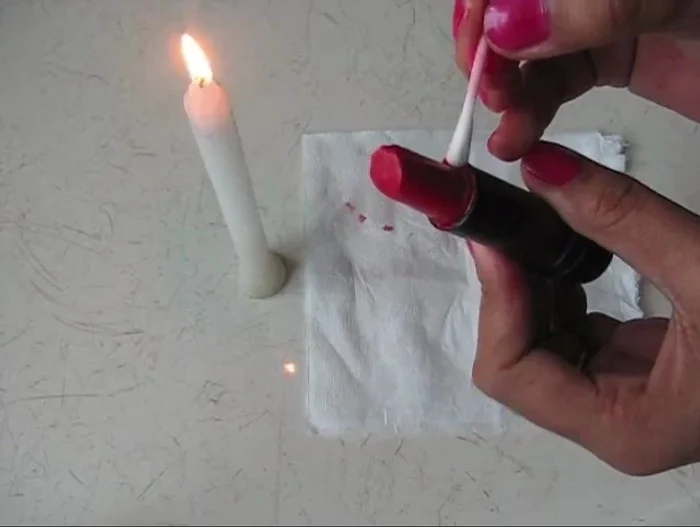
- Use a Q-tip or lipstick brush to clean up any excess lipstick around the edges.
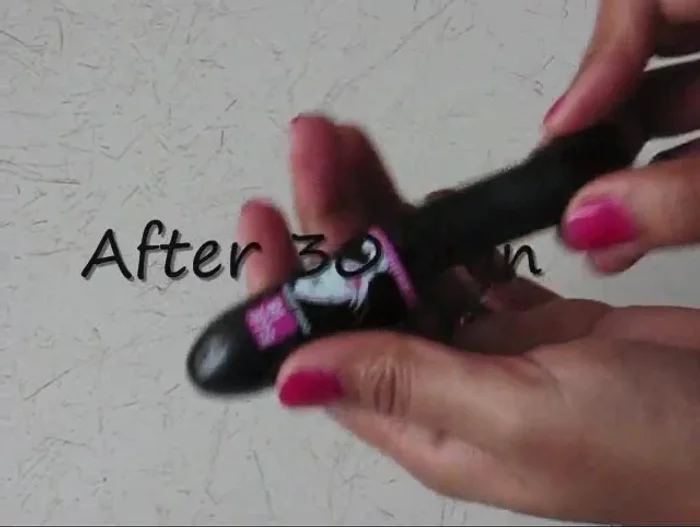
Clean Up Excess Refrigerate and Solidify
- Refrigerate the lipstick for approximately 30 minutes to allow it to solidify.
Refrigerate and Solidify

Read more: DIY: Repairing Broken Lipstick or Lip Balm - The Melting Method
Tips
- Work quickly and efficiently to avoid the lipstick from cooling too quickly.
- If you are a child, ensure adult supervision is present when using a candle or lighter.
- A lipstick brush can be a more precise tool for cleaning up the edges compared to a Q-tip.